This post will teach you how to do water bath canning in eight simple steps.
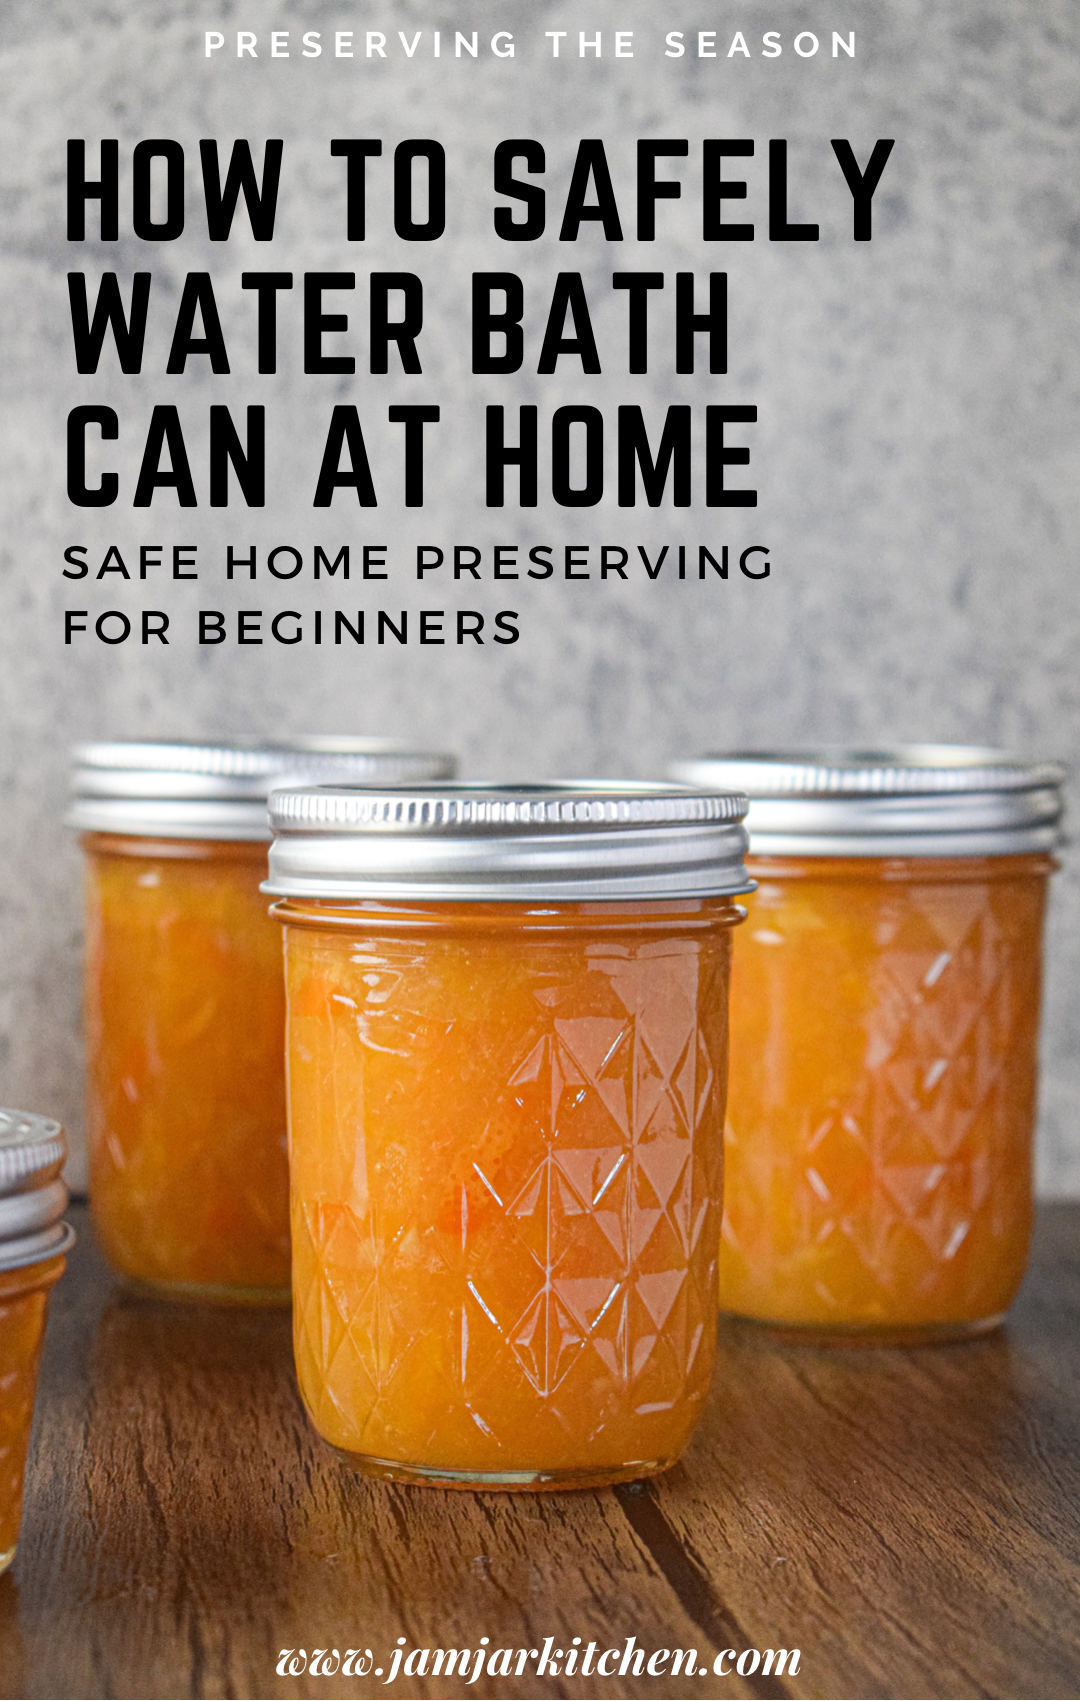
I have actually been meaning to write up this post for some time now. I know that canning can seem a bit intimidating to someone who has never tried it before. But I assure you it is actually a very simple process that can easily be done in any kitchen. Once you understand some of the basic concepts of the science behind this kind of food preservation I know you will feel confident canning up some delicious jams, jellies, chutneys, pickles and relishes of your own!
Now as a disclaimer, every canner is going to do things just slightly differently. And by this I do not mean making changes in processing times and acidity levels. Rather, different canners use their preferred tools to suit their lifestyle and kitchen space. There are many great tools out there for canning and fantastic resources that you can look into. One of my favorites is Marissa McClellan at Food In Jars. You can also find some great recipes and tutorials at Ball Canning and the National Center for Home Food Preservation.
Jump to:
The Science Behind Water Bath Canning
Canning is simply the process of applying adequate heat to high acid food that is sealed in jars for the allotted time necessary to kill off bacteria and micro-organisms that cause food spoilage.
During heating, oxygen is driven out of the jars, causing a vacuum seal to form when the jars cool down. This prevents any outside micro-organisms and oxygen from getting back into the food.
When done correctly, canning preserves food safely for at least a year, although probably much, much longer.
Check out some of my delicious canning safe recipes.
Water Bath Canning VS Pressure Canning
There are two primary types of canning and it is very important to know when to use each.
WATER BATH CANNING
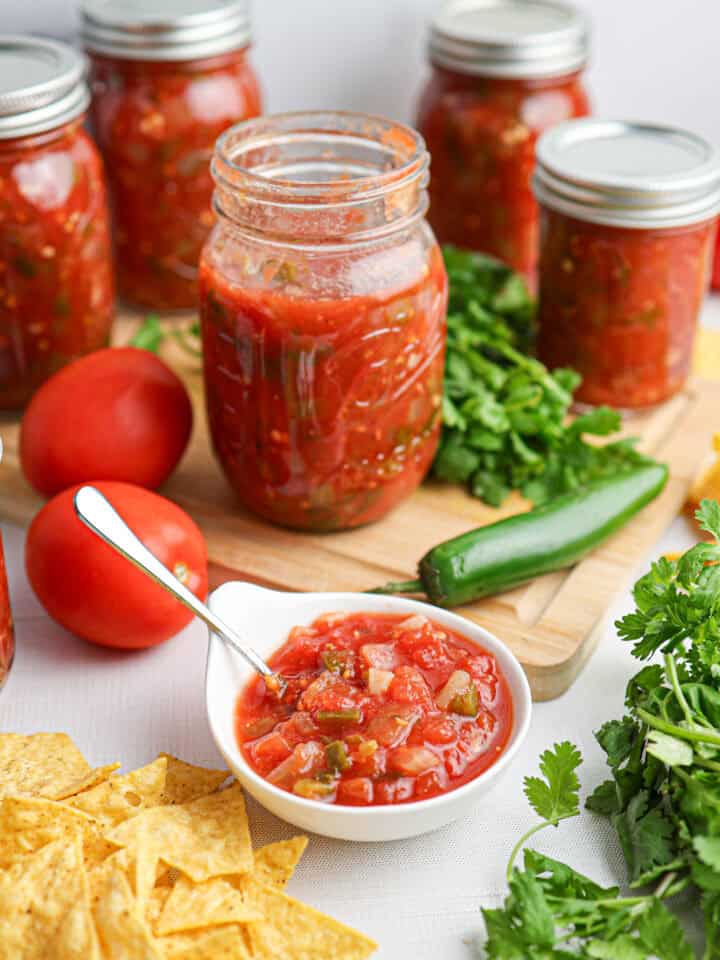
Water Bath Canning is used to preserve high acid foods. This includes most fruits and can also include vegetables that have had their acidity levels increased through the addition of vinegar or citric acid.
Examples of what can be safely canned in a water bath:
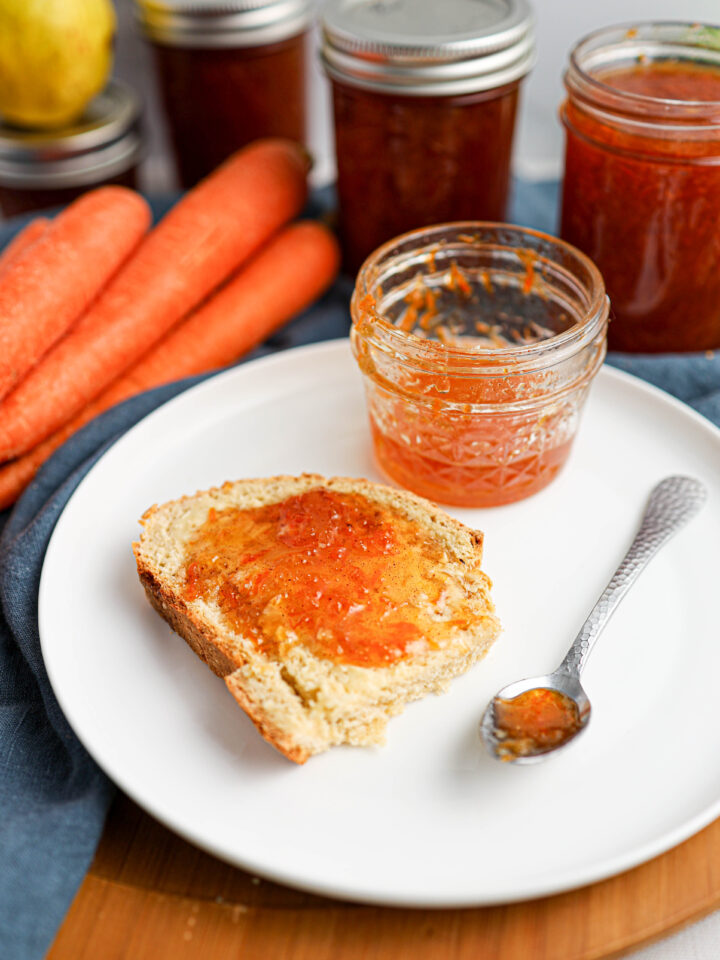
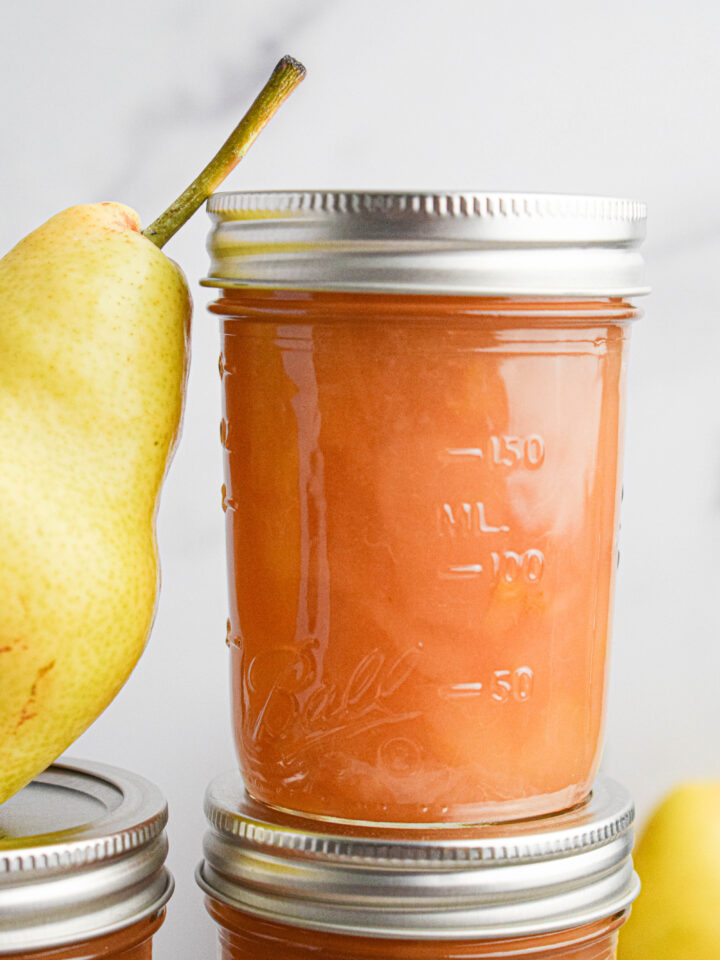
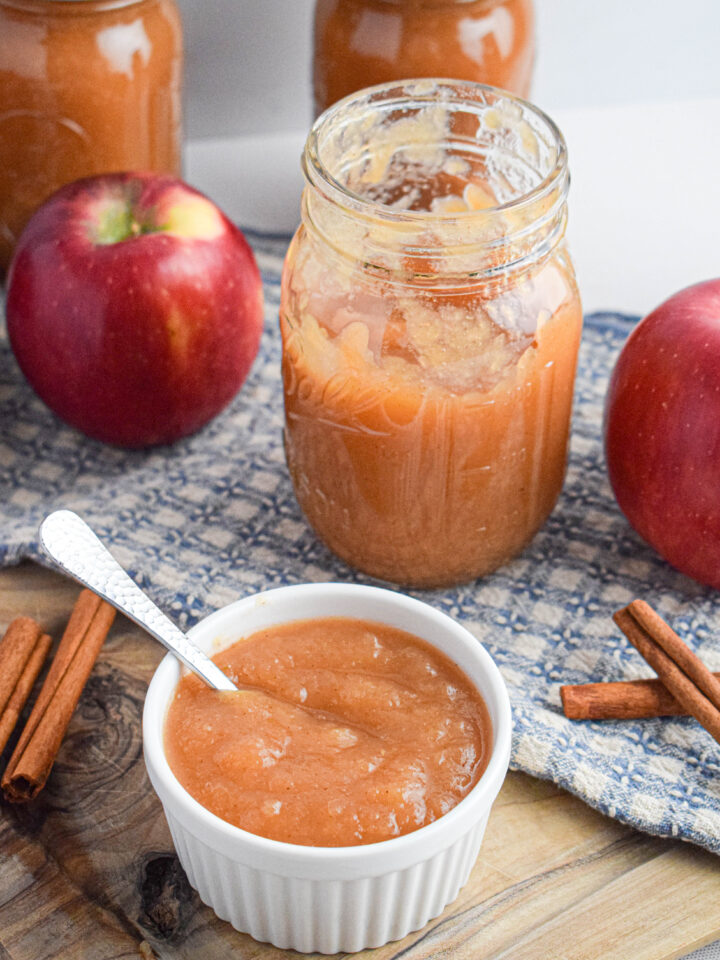
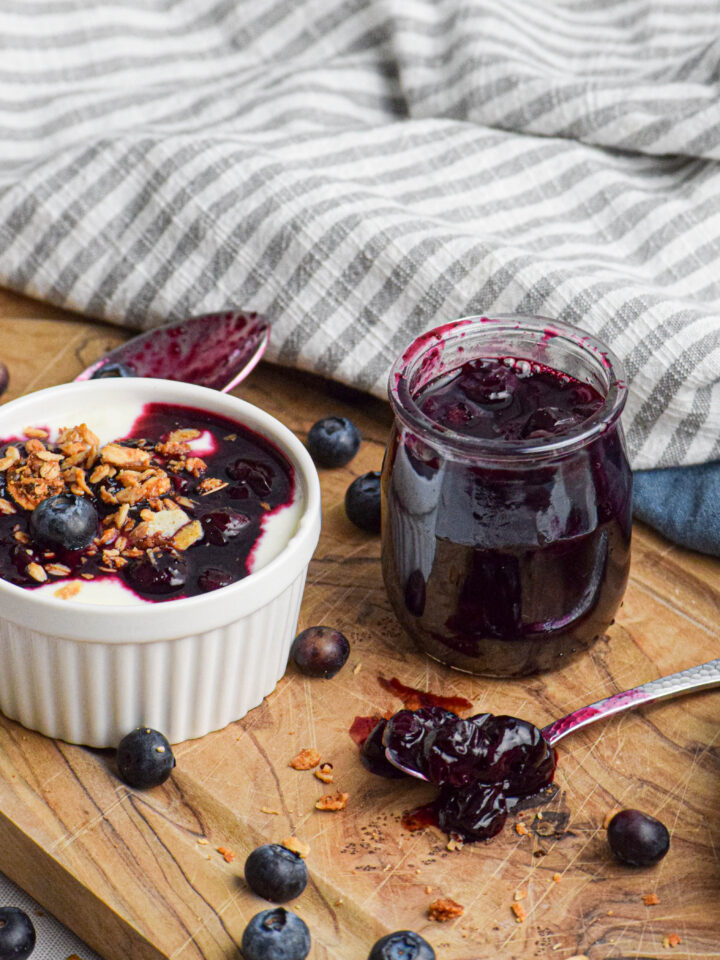
-Jams, Jellies and Fruit Preserves
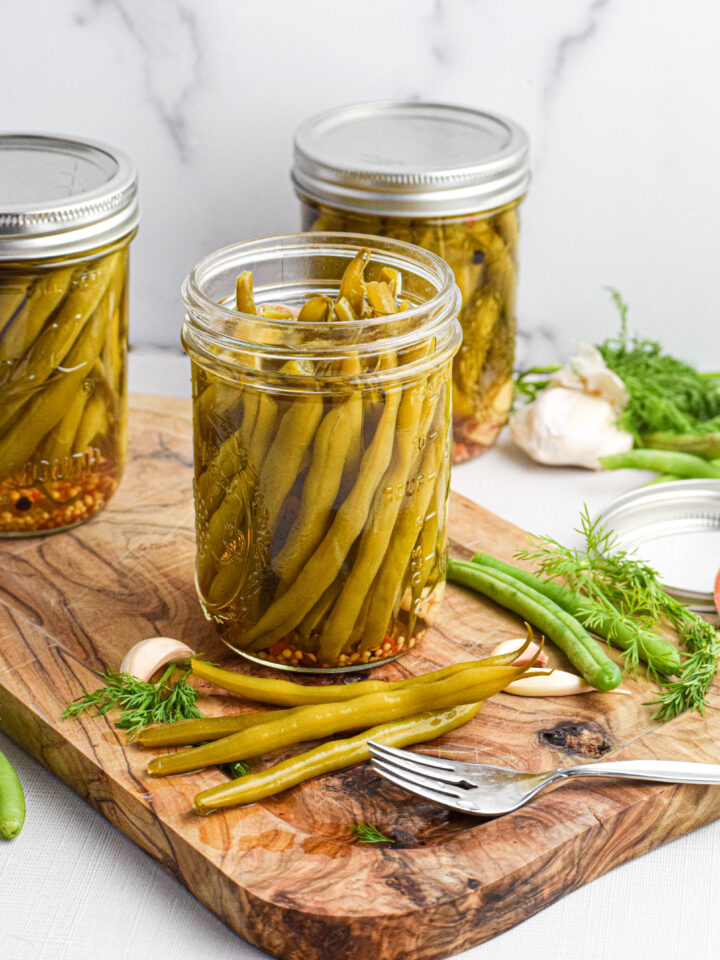
-Pickles
-Marmalades
-Chutneys
-Relishes
-Salsas (with adequate acid added)
All you need to water bath can is a large stock pot with a wire rack, canning safe jars and 2 piece lids (I recommend Ball or Kerr brand), a jar lifter and a few dish towels. (Recommended Product List Below)
PRESSURE CANNING
Pressure Canning is necessary when you are preserving lower acid foods, such as meats and most vegetables. These foods need to be heated to a temperature of 240 degree F for harmful micro-organisms to be destroyed. This can only be achieved by utilizing a pressure canner (which is much different from a pressure cooker).
Examples of what must be canned in a pressure canner:
-Meat
-Soups and Stews
-Vegetables (that have not had adequate acid added)
-Beans & Legumes
It is VERY important that you use the correct canning technique. The number one risk associated with improper canning is Botulism. While this is EXTREMELY rare regardless of canning technique, it almost always happens because someone water bath canned food that should have been pressure canned. I am not saying this to scare you or discourage you from canning. Rather, that you be sure to use the appropriate canning technique to preserve your food.
HOW DO I KNOW WHICH ONE TO USE?
The safest way to know which type of canning to use is to simply use a tested recipe from a trusted source.
All recipes on The Jam Jar Kitchen have been designed with safety in mind. You can also find wonderful preserving recipes on Food in Jars or through Ball Fresh Preserving or the National Center for Home Food Preservation.
If you do find yourself wanting to experiment the safest way to do so is to stick to recipes that contain only high acid foods. For example, a mixed berry jam using blueberries, strawberries and raspberries with sugar and lemon is a pretty safe bet. Altering the amounts of sugar and fruit may affect your set, but it certainly won't poison you.
You will however need to be careful with fruits like figs and tomatoes. Both of these may seem high acid, but depending on the tomato or fig you could fall out of the safe zone. When dealing with these types of fruits it is always best to stick with a trustworthy recipe. I can assure you your grandmother or elder neighbor will tell you they never got sick from water bath canning tomatoes, but honestly, why take the chance? Especially when all it takes to make sure your preserves are safe is a little lemon juice, vinegar or citric acid.
Let's get down to business...
What You Will Need:
Before you get started you will need the following items:
- Boiling water bath canner a large deep sauce pot with a lid. You can use any large pot with a rack. Personally I like to save oven space and typically use this Ball electric canner for convenience.
- Canning rack. Some beginner canning kits will come with these and if you use the Ball electric canner it should have one included. But you can easily purchase a canning rack to fit most pot sizes.
- Glass preserving jars, lids, and bands: I recommend using Ball/Kerr mason jars. I typically find the best price for these jars at Target.
- Jar lifter. You can use a vintage lifter or this Ball Secure Grip Jar Lifter works great.
- Canning funnel. I love this Prepworks Canning Funnel by Progressive.
- Bubble freer and headspace tool. Some like to use headspace tool with measurements but a a butter knife or a chopstick also works great for this.
The Steps of Water Bath Canning
STEP ONE: Prepare your jars
Check your mason jars for any nicks or cracks. These can prevent sealing or cause jar breakage. Wash your jars in warm soapy water and set aside on a clean towel.
No. Previously, the rule of thumb in home canning was to sterilize all of your jars and lids prior to filling them. Many canners who learned home preserving years ago stick by this rule and continue to do so. However, after much debate and thorough testing the National Center for Home Food Preservation declared that jar sterilization for foods being processed in a water bath canner for 10 minutes or more (which is every recipe I've ever seen) do not require sterilization. Simply make sure the jars are clean, and you are good to go.
Hot Tip: I like to run my jars through a wash cycle in the dishwasher and then leave them in there until I'm ready to fill them. This ensures they are both clean and warm when I fill them with preserves, which can prevent cracking. (TBH, I have never cracked a jar by filling it with too hot of preserves, but I try to warm them all the same.)
STEP TWO: Heat the water
A lot of guides will tell you to do this in step 5 or 6, but I say the earlier the better.
You're going to be boiling a lot of water and that takes time. So to streamline the process go ahead and fill up your canning pot, place the rack on the bottom and turn on the heat.
STEP THREE: Prepare the recipe
Be sure to use a tested recipe from a trusted source.
STEP FOUR: Fill the jars
Fill your jars one at a time using a jar funnel. Be sure to leave the amount of headspace recommended in the recipe.
Headspace is the space between the surface of the food and the top of the jar. If you don't have enough headspace the food may bubble up during processing, getting onto the rim of the lid and preventing the jar from sealing properly. Most recipes call for between ¼ and ½ inch of headspace, but be sure to check your recipe for instructions.
STEP FIVE: Put a lid on it
After your jars have been filled, use a damp cloth to wipe the jar rims to remove any residue from your preserves.
Place the lid on the center of each jar. Then apply the band and adjust until it is fingertip tight. Don't feel the need to over tighten your lids as it will just make it more difficult to remove them later.
If there is residue on the rim of the jars it may prevent the lids from sealing properly.
STEP SIX: Process in the water bath
Using the jar lifter, place your jars of preserves on top of the rack in the water bath canner.
Cover the pot with a lid and bring to a full rolling boil. Once the water has reach a full rolling boil, and not before, start the processing time as dictated by your recipe.
Once the jars have processed for the required time, remove the lid and take the pot off the heat. Allow the jars to cool in the pot for 5 minutes before removing. Why? This allows the jars to acclimate to the outside temperature.
The rack prevents the jars from direct heat on the bottom of the pot, which can cause the jars to break.
This allows the jars to acclimate to the cooler temperature gradually, reducing the chance of temperature shock which, in rare instances, could lead to the jar cracking.
STEP SEVEN: Remove the jars and wait for the seal
Lay a dry dish towel out on the counter. Using your Jar Lifter, remove the jars from the pot one at a time and place on the dish towel.
Allow your jars to rest undisturbed for 12 - 24 hours. During this time do not turn the jars upside down, or on their sides or tighten the lids.
After the time has passed check the lid for seals. You should see a small indentation in the middle of the lids and there should be no flex when the center is pressed.
This prevents temperature shock when piping hot jars are placed on a cold countertop. The towel provides a buffer and reduces the risk of breakage.
You should immediately refrigerate any unsealed jars and enjoy within a week or two of preparing.
Without a proper seal your preserves are not shelf stable but they will still be delicious out fo the fridge.
STEP EIGHT: Label and store your jars
Wipe down your jars and make sure to label them with the date and product.
Store in a cool, dark place for up to 18 months. Enjoy!
Congrats! You are now a home canner!
See that wasn't so hard, now was it? Canning is a craft and art and a science and the more you do it the easier and quicker it becomes.
Here are some of my favorite canning supplies that I use weekly in my home kitchen.
Ball FreshTech Water Bath Canner
Can you simply use a large stock pot with a rack and lid? Of course you can! But if you are going to get into canning I cannot recommend this product enough. It saves loads of stove space and makes the boiling process so quick and efficient. Plus, you can use it for other purposes. I basically do all of my water bath canning in one of these and I love it.
Ball / Kerr Mason Jars and Lids
Ball Kerr is simply the gold standard of home canning. Especially for beginner, their 2 piece lids make detecting a good seal incredibly simple and they are beloved by home canners around the world.


Suzanne Mills
Good article.
Question: Can I use ordinary jam jars?
Thanks in advance.
Suzanne