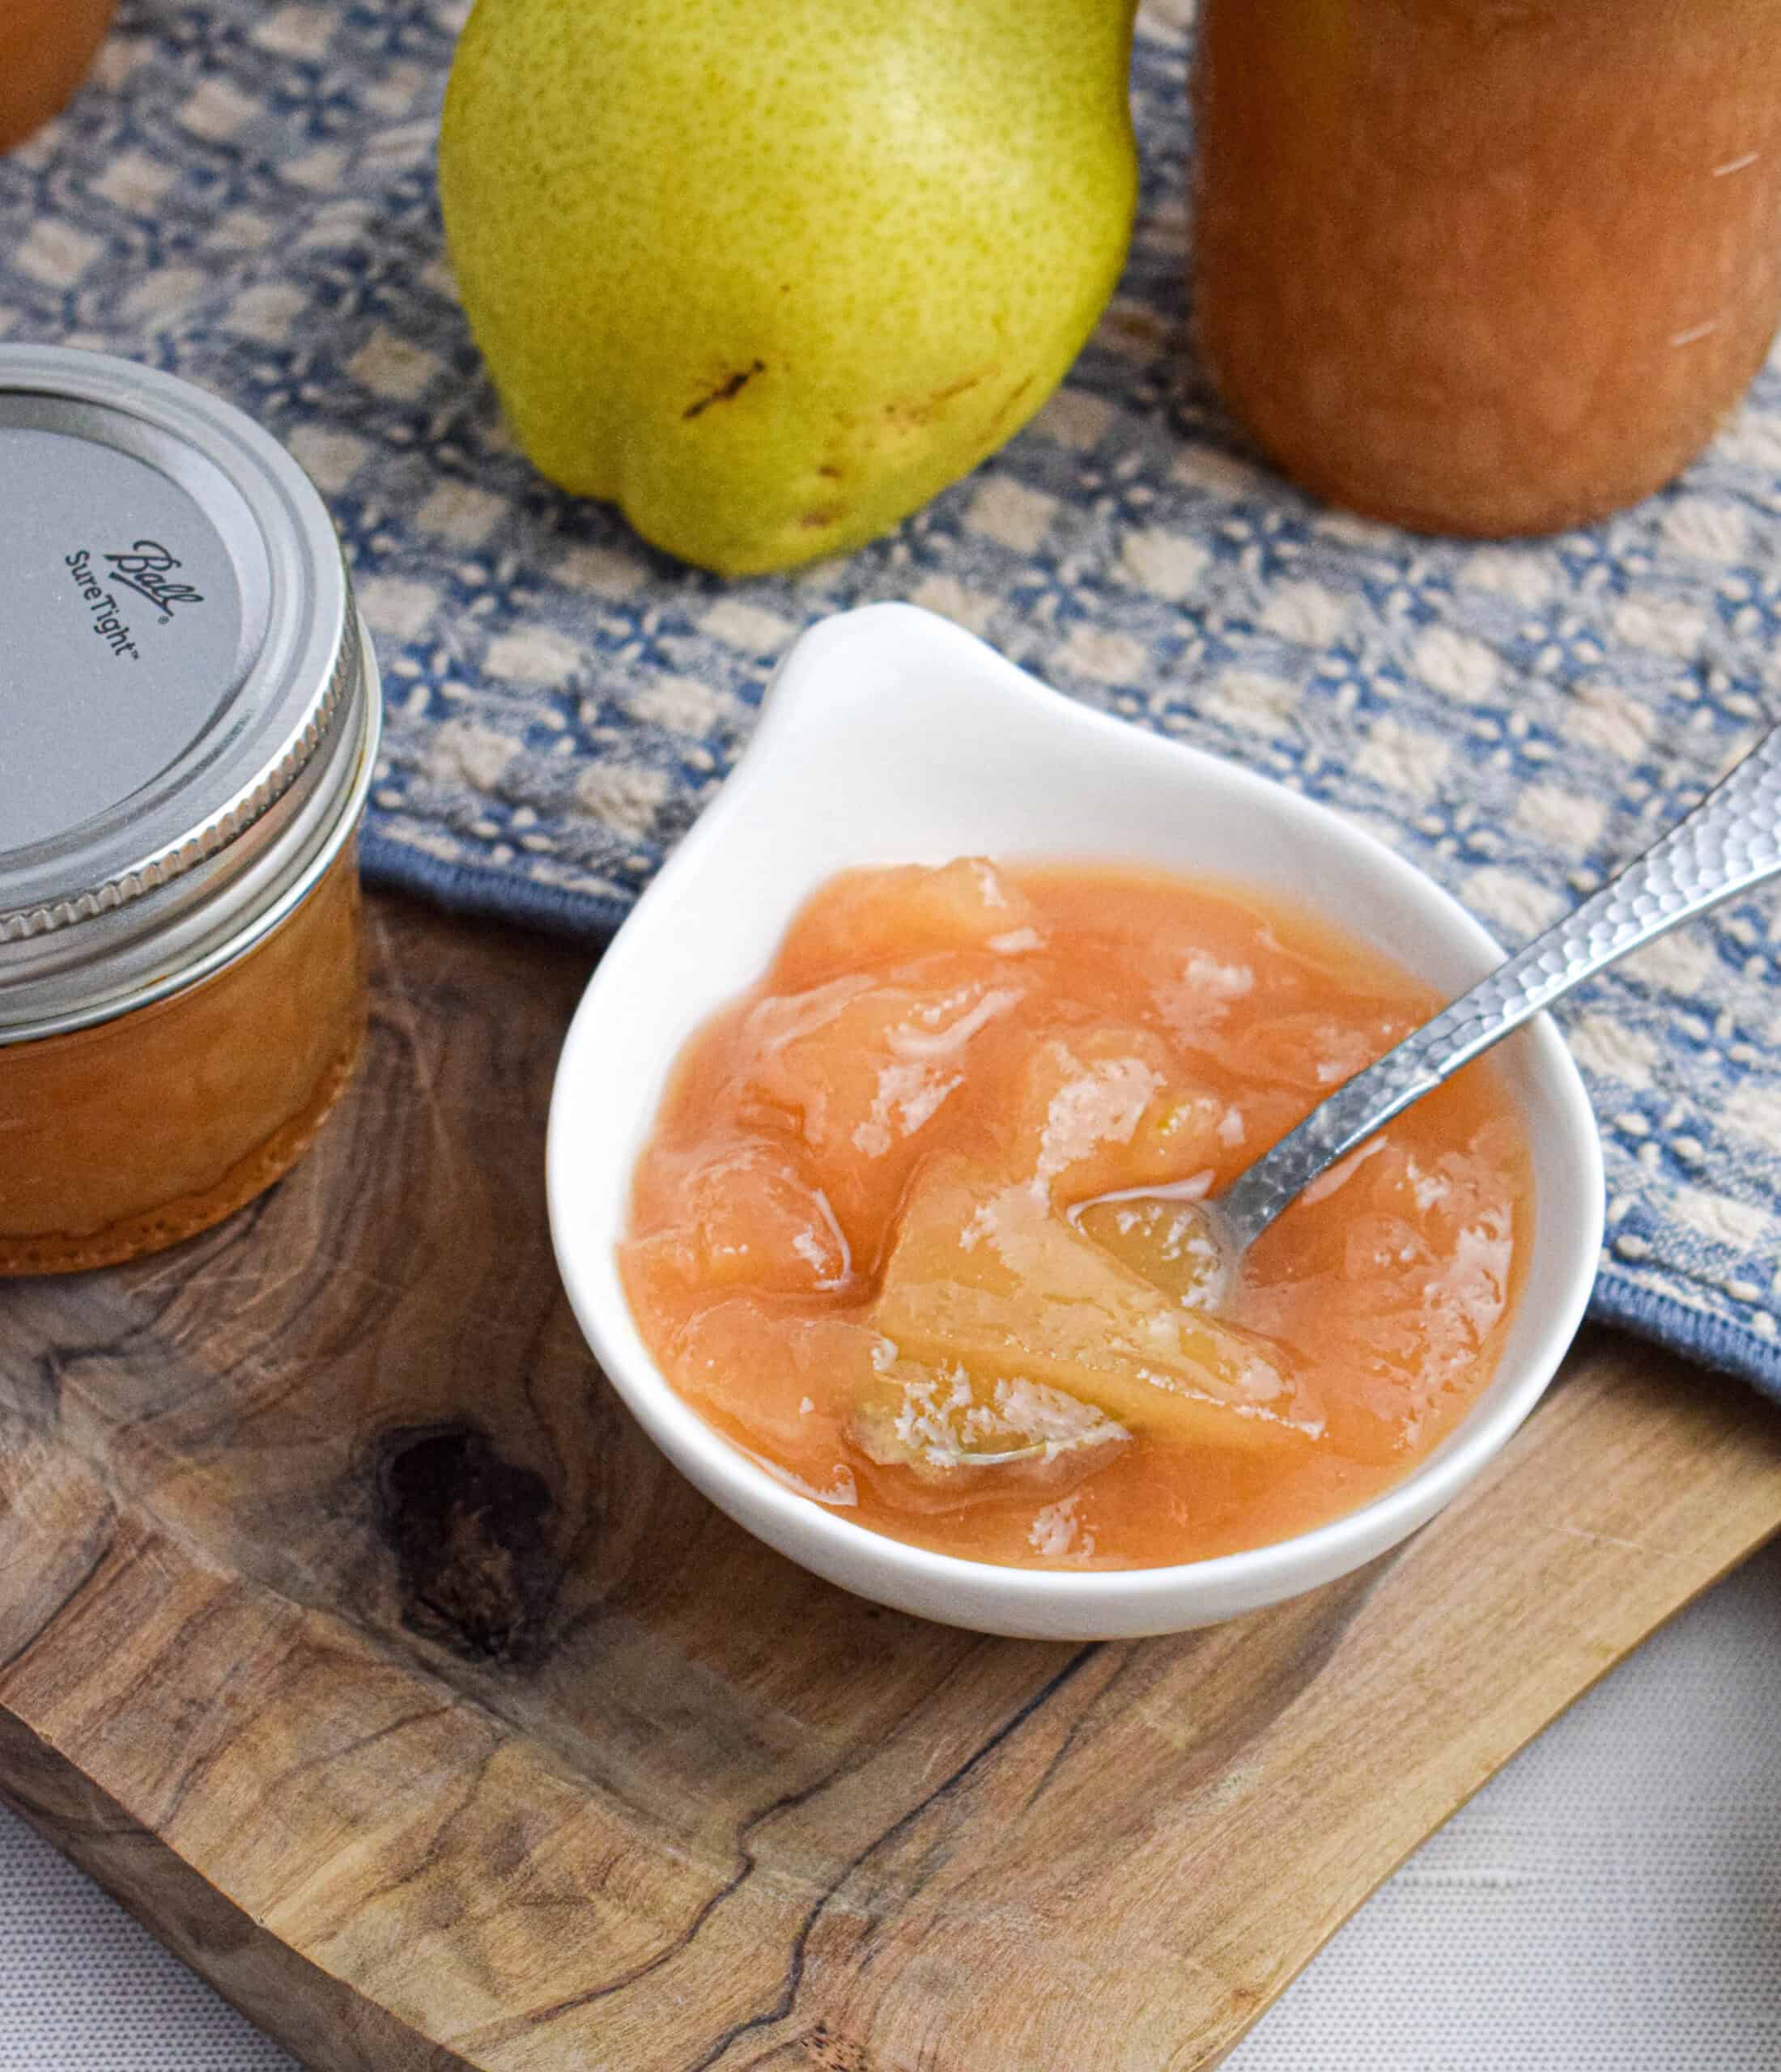
When fresh pears are in season, there's no better way to use them than in a batch of old-fashioned pear preserves. This easy recipe cooks down into sweet, cinnamon-kissed goodness that's perfect on biscuits, pancakes, or spooned over yogurt any time of year.

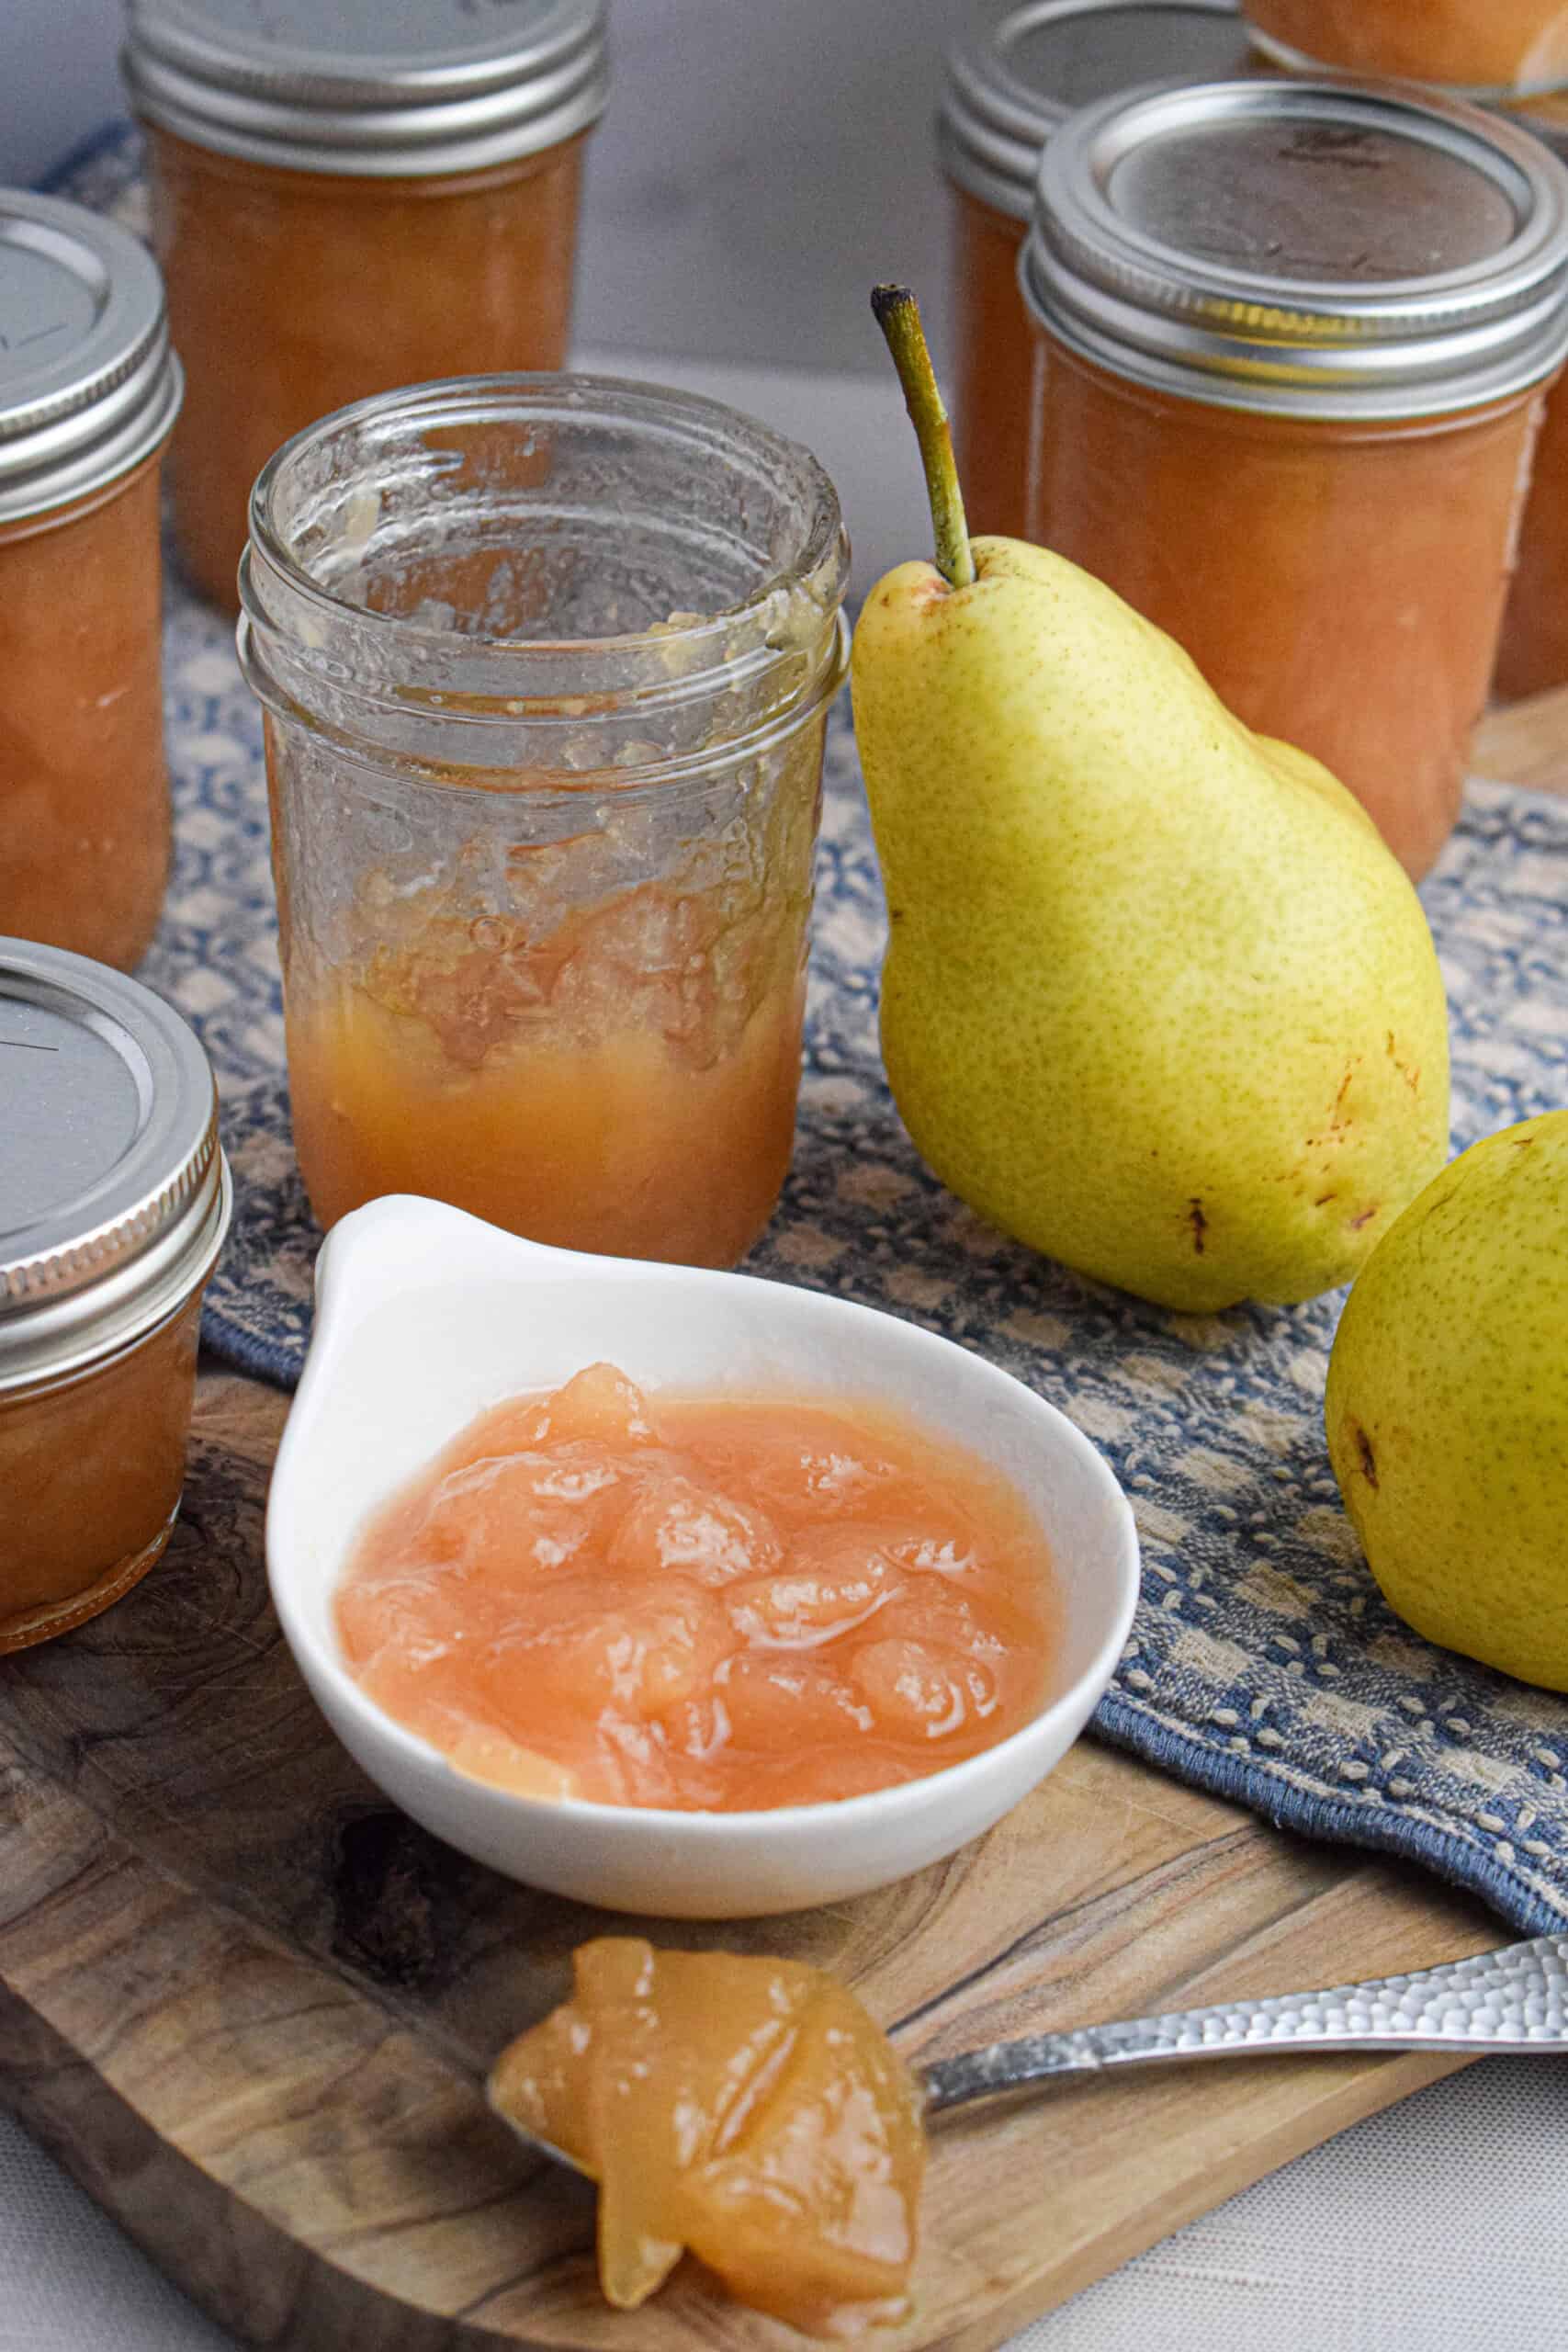
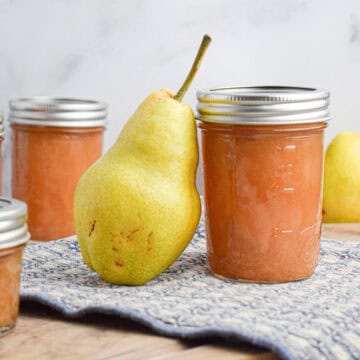
These old-fashioned pear preserves are an absolute must-make during pear season. Somewhere between a pear jam and pears in syrup, they're sweet, lightly spiced, and full of cozy flavor. I love that you can spoon them over biscuits or toast rather than spread them like a traditional jam. They're rustic and just so good. The recipe makes about 7 half-pints, but I almost always double it because it really is that delicious (and truly couldn't be easier to make). You can safely water bath can these for shelf-stable storage up to about 18 months, or simply keep them in the fridge to enjoy right away.
Jump to:
What is water bath canning?
Canning is simply the process of applying adequate heat to high acid food that is sealed in jars for the allotted time necessary to kill off bacteria and micro-organisms that cause food spoilage.
During heating, oxygen is driven out of the jars, causing a vacuum seal to form when the jars cool down. This prevents any outside micro-organisms and oxygen from getting back into the food.
You can check out my guide on How to Safely Water Bath Can at Home more resources on safe home preserving

Safe Canning Resources
If you are new to canning you can find great resources, recipes and tutorials at Ball Canning and the National Center for Home Food Preservation.
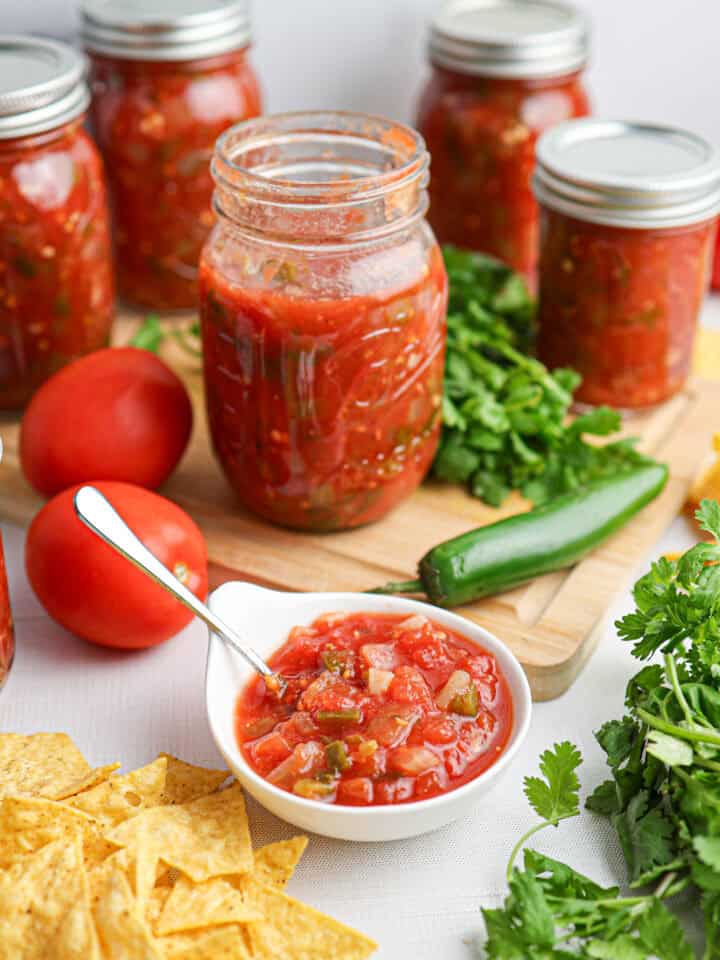
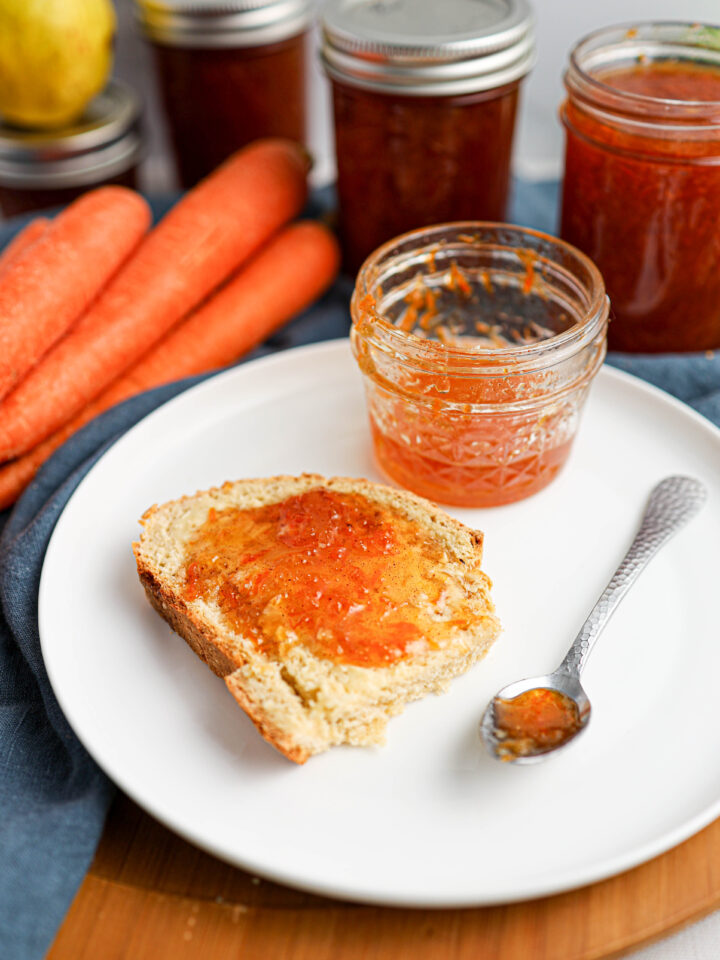
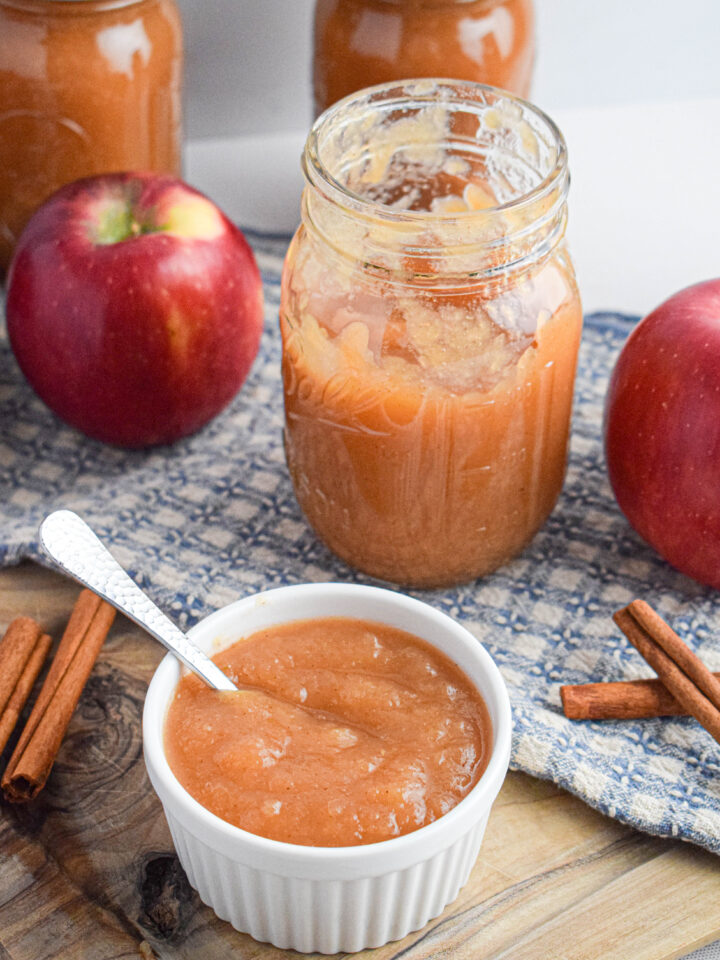
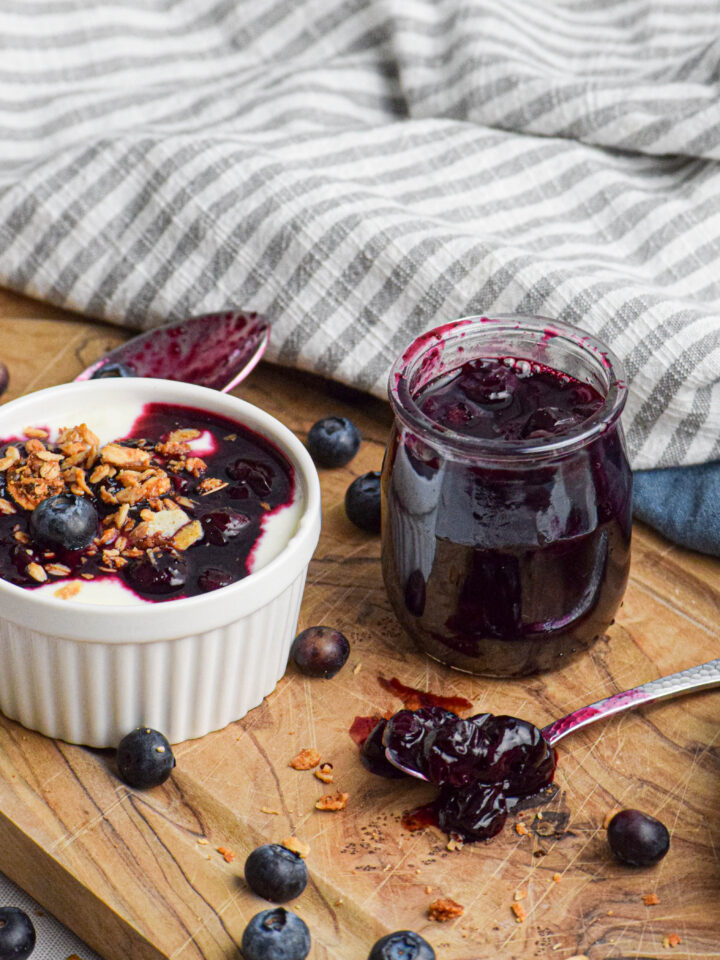
More preserving recipes you will love.
Equipment
For the Pear Preserves
- Cutting board and sharp knife
- Peeler (optional)
- Measuring cups and spoons
- Large pot
- Large slotted steel or wooden spoon
For Water Bath Canning
- Mason jars: Make sure the jars are clean and that the lids are brand new. You cannot reuse canning lids.
- Large pot with rack OR Electric Canner: If you only can once in a while using a large pot with a canning rack works just fine. As someone who personally does a lot of canning and I absolutely LOVE my Ball FreshTech Electric Canner.
- Jar lifter: You will need a jar lifter to remove the hot jars from the water bath.
- Funnel: I personally love this canning funnel because it also allows you to measure the headspace easily.
- Ladle: This Prepworks Canning Scoop is my favorite.
Ingredients & Substitutions
- Fresh pears: I recommend using firm, ripe Bartlett or Anjou pears for this recipe. They keep their texture beautifully as they cook down, giving you that perfect tender bite without turning into pear sauce.
- Brown sugar and White granulated sugar: I like using a combination of brown and white sugar for these preserves. But you can use either or if you'd prefer.
- Lemon: I recommend using a fresh lemon for this recipe as cooking the pith along with the pears helps the preserves thicken. However, if you don't have a fresh lemon you can use bottled lemon juice. You may just need to cook it down a bit longer.
- Cinnamon stick: I cook these preserves the old fashioned way with a cinnamon stick in the pot that I discard before canning. You could also just add a teaspoon or 2 of ground cinnamon instead. Or feel free to add additional spices like ginger, cardamom or cloves for spiced pear preserves.
- Salt (optional): I always add a small pinch of salt to my preserves for added flavor and balance. But feel free to omit.
Recipe FAQs
While you can technically use almost any type of pear, I recommend firm, just-ripe Bartlett or Anjou pears. They hold their shape as they cook and give you that perfect tender bite without turning mushy.
*Note* Do not use Asian pears for this recipe without adding adequate acid (such as lemon juice or citric acid). They have a lower acidity level and not all varieties are safe for water bath canning.
After about an hour, the pears should look translucent and the liquid should be thickened about to the consistency of applesauce. Keep in mind it will thicken a bit more as it cools.
If you process the jars in a water bath, they'll be shelf-stable for about 18 months. If you skip processing, store them in the fridge and use within 3 weeks.
I don't recommend it for this recipe. Sugar helps the preserves set and keeps them shelf-stable. If you're just refrigerating them (not canning), you can reduce it a bit, but the texture and color may change.
On biscuits, toast, pancakes, with cheese boards, over ice cream, or stirred into yogurt. Honestly, it's good on basically everything.
More recipes for you to enjoy.
Slow Cooker Pear Butter {for canning}
Slow Cooker Applesauce {canning safe}
Made these homemade Old Fashioned Pear Preserves? Let me know what you think in the comments!
Recipe
Old Fashioned Pear Preserves {canning safe}
Equipment
- Large pot
- Cutting board, knife and peeler
- Measuring cups and spoons
- 7 Half pint mason jars
- Water bath canning equipment (see above)
Ingredients
- 10 cups Pears, peeled, cored and thinly sliced
- 1 cup brown sugar
- 1 cup white granulated sugar
- 1 small lemon, seeded and sliced
- ½ tablespoon lemon juice
- 1 cinnamon stick
- pinch of salt
Instructions
- Peel, core, and slice the pears, then place them in a large, heavy-bottomed pot.Add in the brown sugar, white sugar, sliced lemon, lemon juice, cinnamon stick, and a pinch of salt. Stir to coat the pears evenly.
- Set the pot over medium-high heat and bring the mixture to a full boil, stirring occasionally.Once a boil has been reached, reduce the heat to medium or medium-low and cook uncovered for about 1 hour. Stir every so often to prevent sticking.The preserves are ready when the pears are tender and translucent and the syrup has thickened to a glossy consistency. It will thicken a bit more as it cools.
- Remove the pot from the heat. At this point you can either spoon the jam into jars and store in the fridge or can them using the instructions below.
Water Bath Canning Instructions
- Ladle the jam into about 7 half pint jars leaving about ¼th to ⅓rd inch of headspace.Remove air bubbles and wipe the jar rims.Place on new, clean lids and bands and process in a boiling water bath for 10 minutes (adjusting time for altitude).*Remember - do not start the timer until the water has come to a full rolling boil.*Turn off the heat and allow the jars to rest in the warm water for 5 minutes before removing and placing on a towel on the counter (do not place directly on the counter).Allow the jars to cool undisturbed for about 24 hours until all the lids have sealed.Store sealed jars in a cool dry place for 12-18 months for best quality.*Note* If any of the jars do not seal simply store in the refrigerator and consume within 2-4 weeks.Enjoy!


Liz
These pear preserves are delicious!! I've been eating it on my morning toast all week long!
jamjarkitchen
My favorite breakfast!
Bethany
Such a beautiful way to highlight fresh pears. That cinnamon touch makes these preserves perfect for spreading or spooning over just about anything.
jamjarkitchen
So glad you enjoyed them!
swathi
Homemade pear preserves is always best in both taste and color, I loved making it. Thanks for sharing.
Sally
Loved these preserves! Pears are so underrated--this is a great way to use them up!
jamjarkitchen
So glad you like them!
Vanessa
This is such a great recipe! I made it over the weekend, and we loved it.
jamjarkitchen
So glad you enjoyed it! It's one of my favorite canning recipes. 🙂