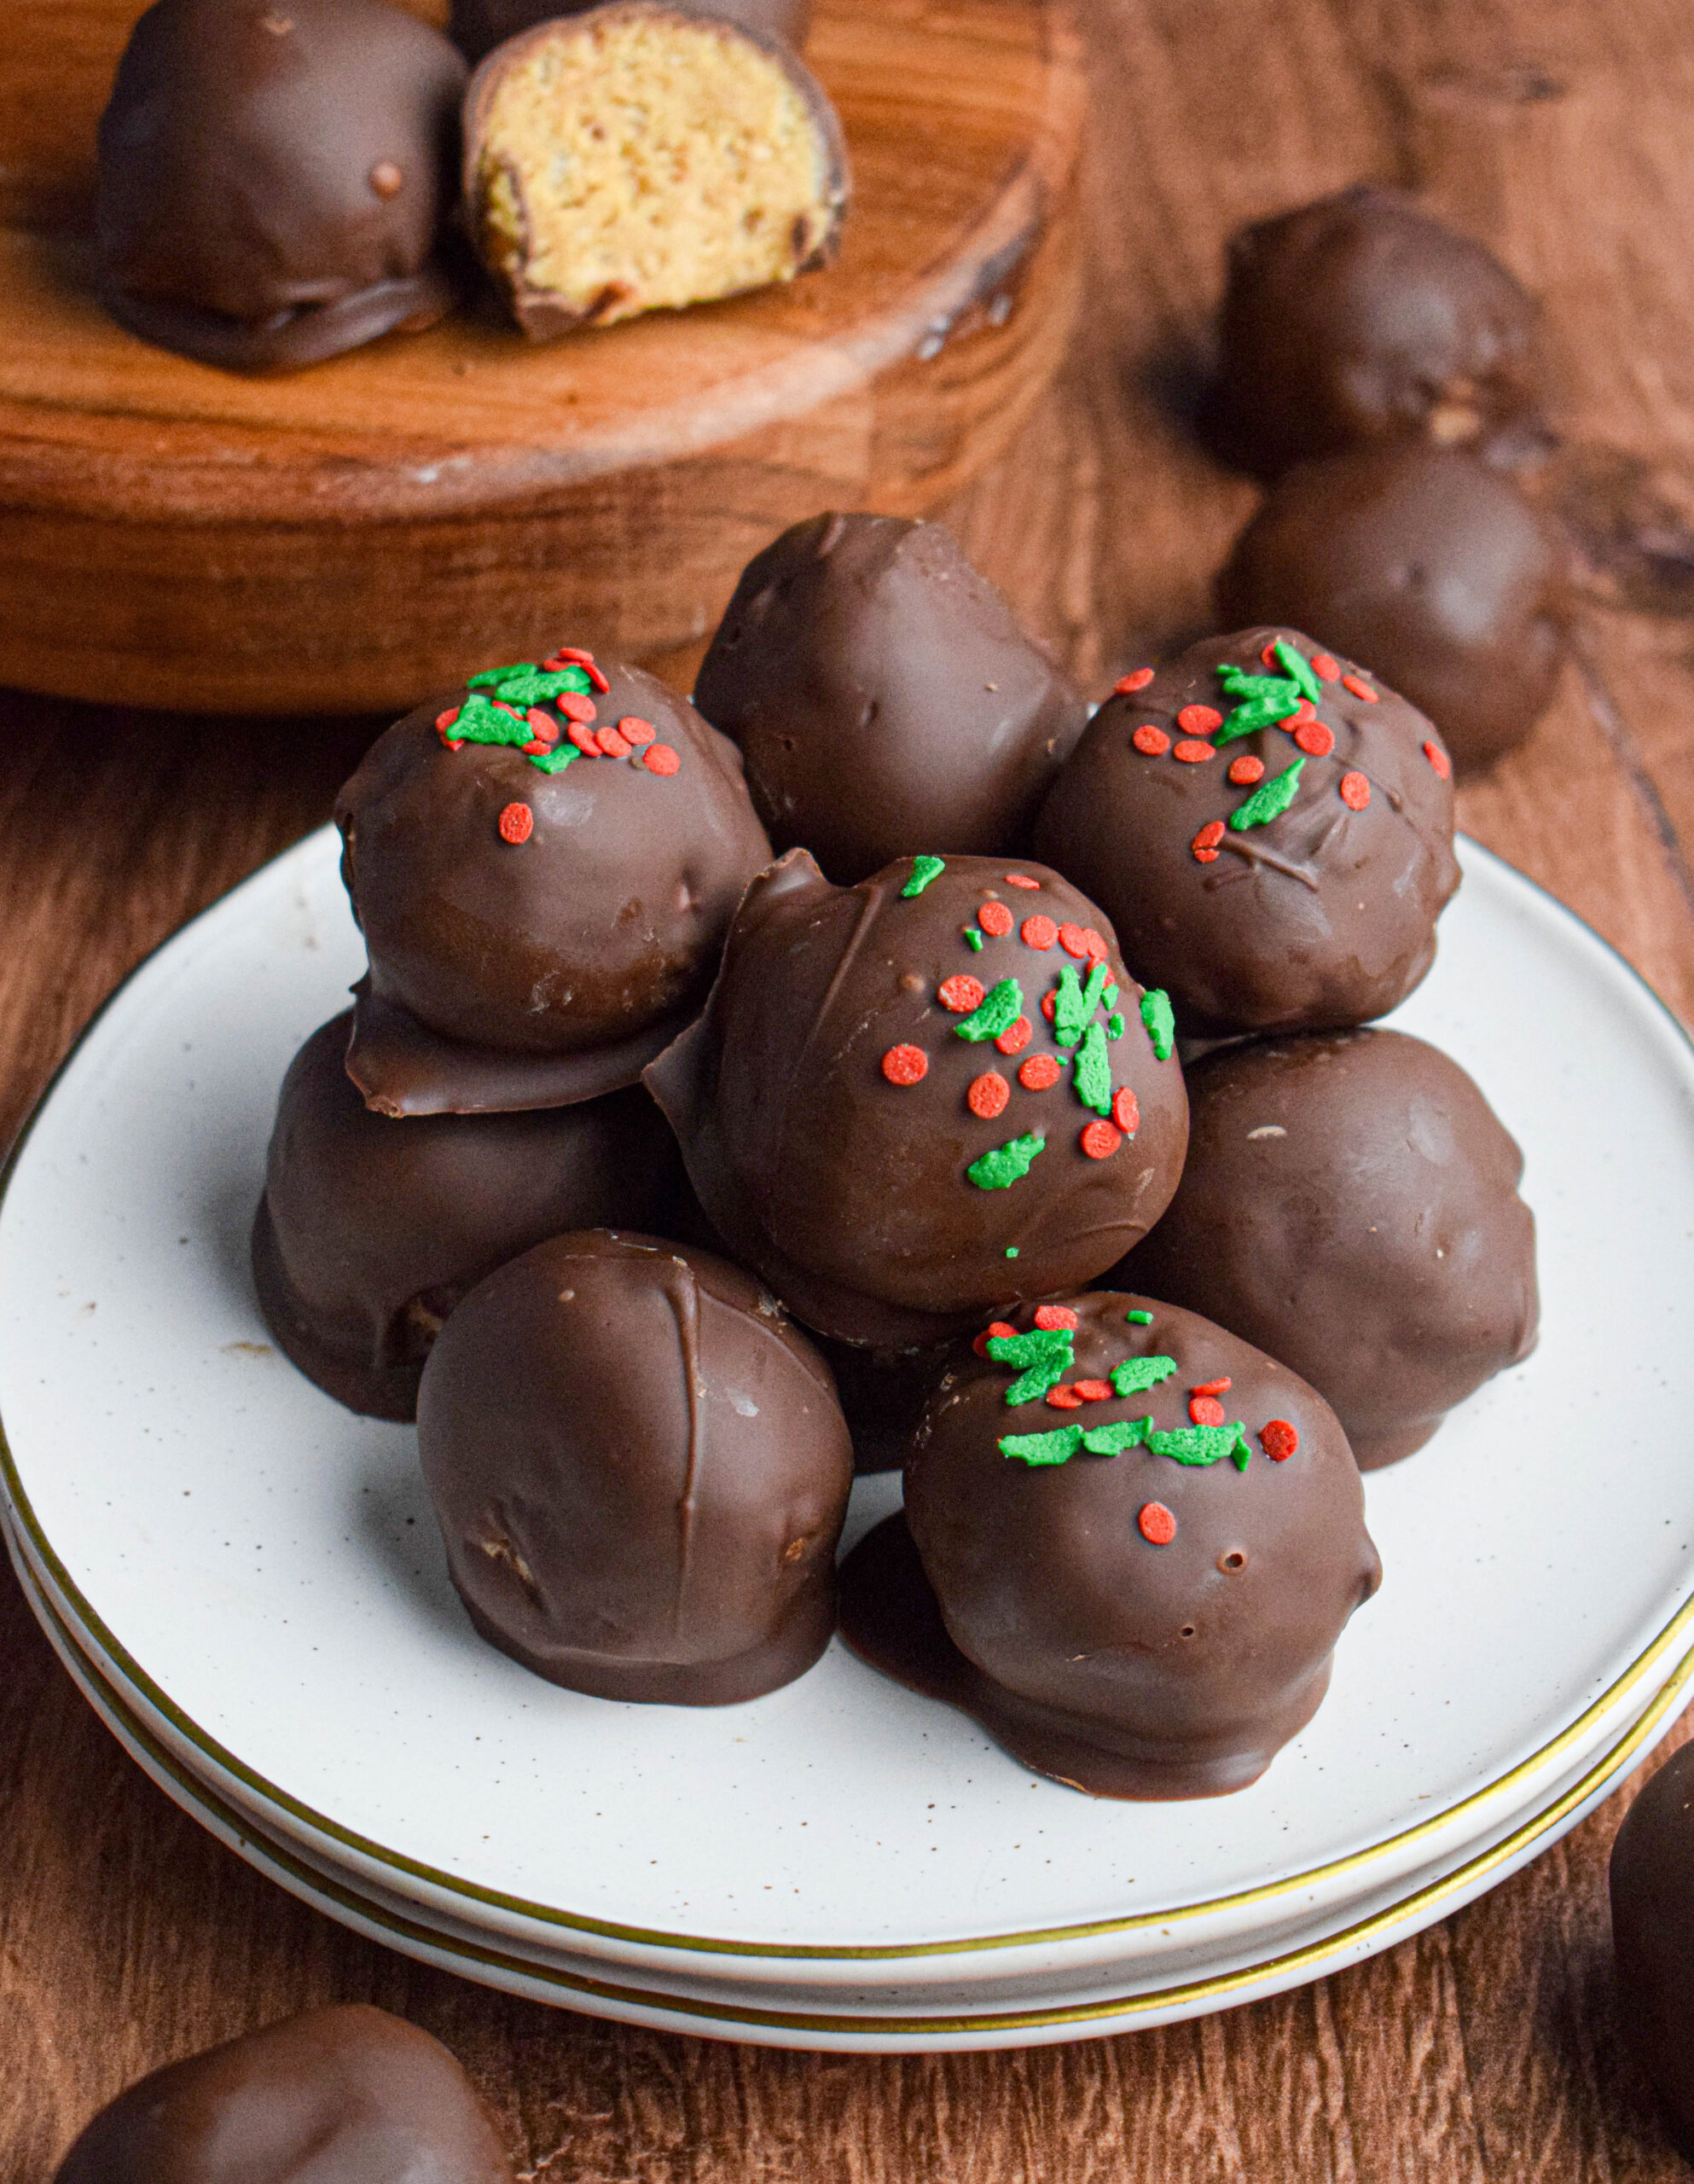
These easy-to-make chocolate covered rice Krispie peanut butter balls are about to become your new favorite treat! Similar to classic buckeye but with a delightful extra crunch from the puffed rice. These are perfect for the holidays or any time of year!
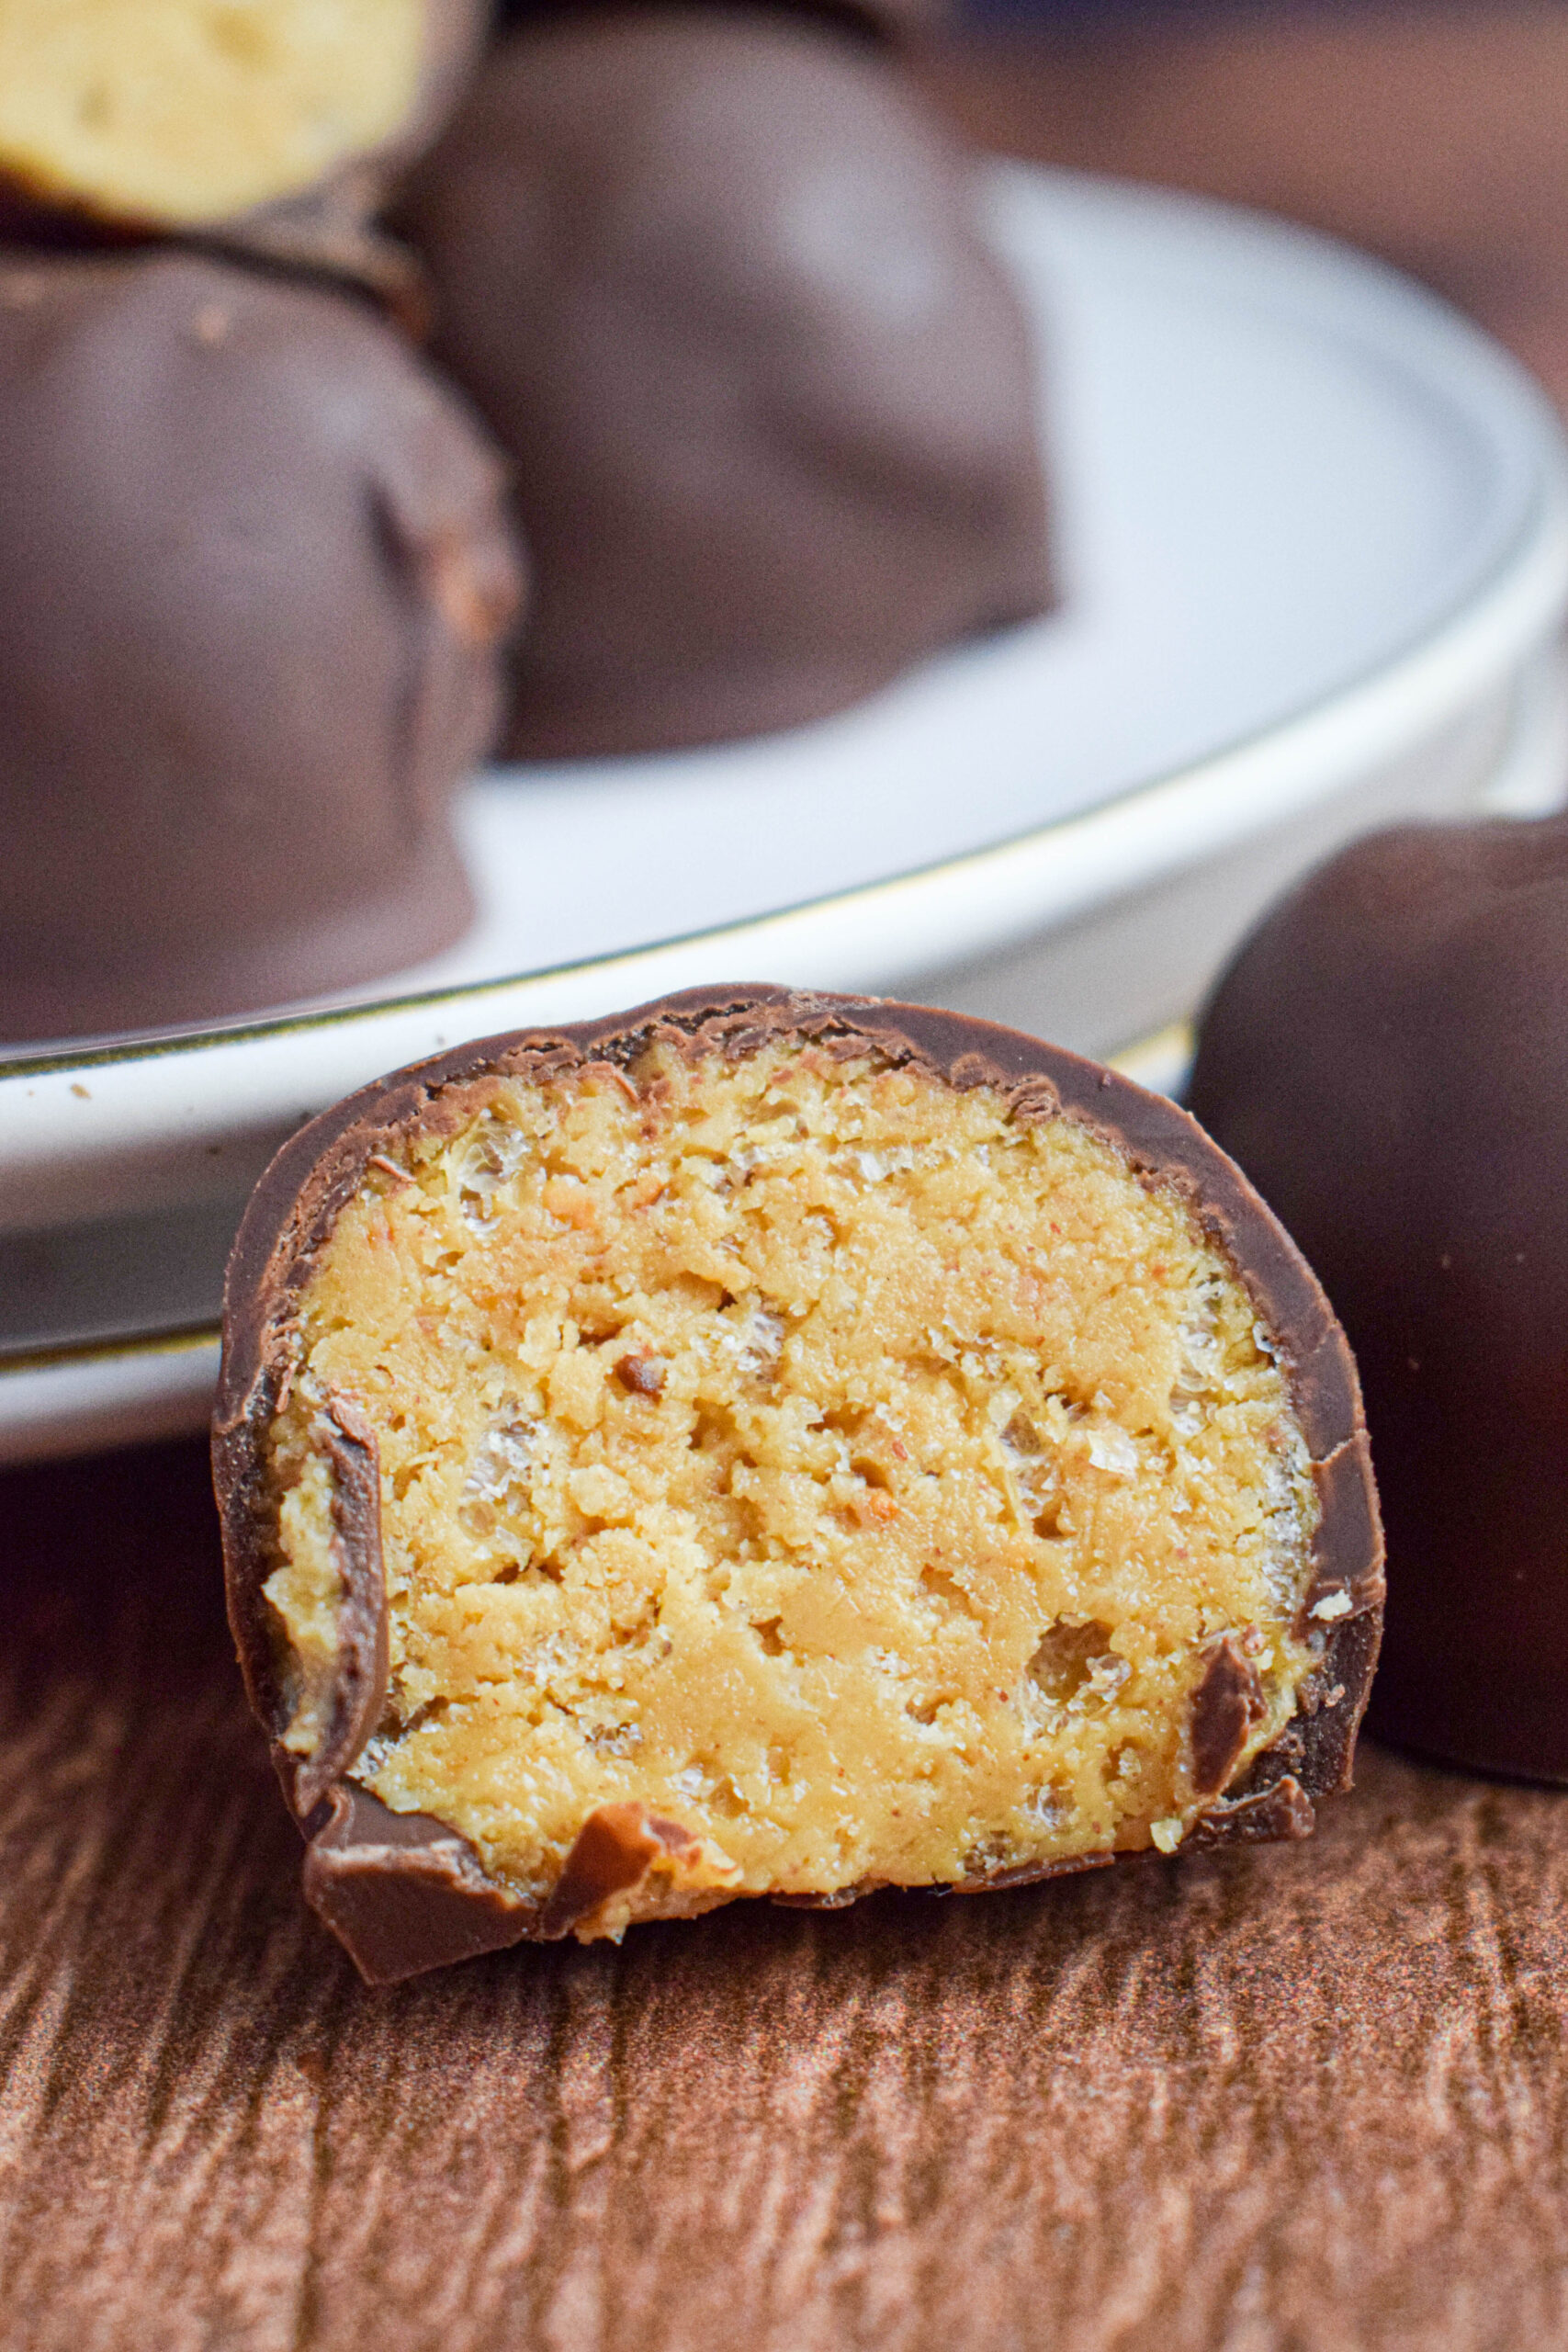
Y'all, believe me when I tell you these chocolate covered Rice Krispie peanut butter balls are seriously next level. My family is absolutely obsessed. They barely lasted a day the last time I made a batch! If you love classic buckeye-style treats, you're going to love this fun twist. The addition of crispy rice cereal gives them the perfect little crunch that takes the texture up a notch and makes them completely irresistible.
The best part? They're no-bake, super easy to make, and only require a handful of simple ingredients you probably already have on hand. These peanut butter balls are perfect for holiday cookie trays, gifting to friends and neighbors, or just keeping in the fridge for a quick sweet treat whenever the craving hits. You can dress them up with sprinkles or festive decorations, or keep them simple. Either way, they're always a hit. I hope your crew loves them as much as mine does!
Jump to:
Add sprinkles for a festive upgrade!
This recipe is fantastic for the holidays and is a much appreciated addition to any Christmas cookie box. If you want to make them a bit more festive you can add holiday themed sprinkles or red and green colored sugar for that extra Christmasy touch.

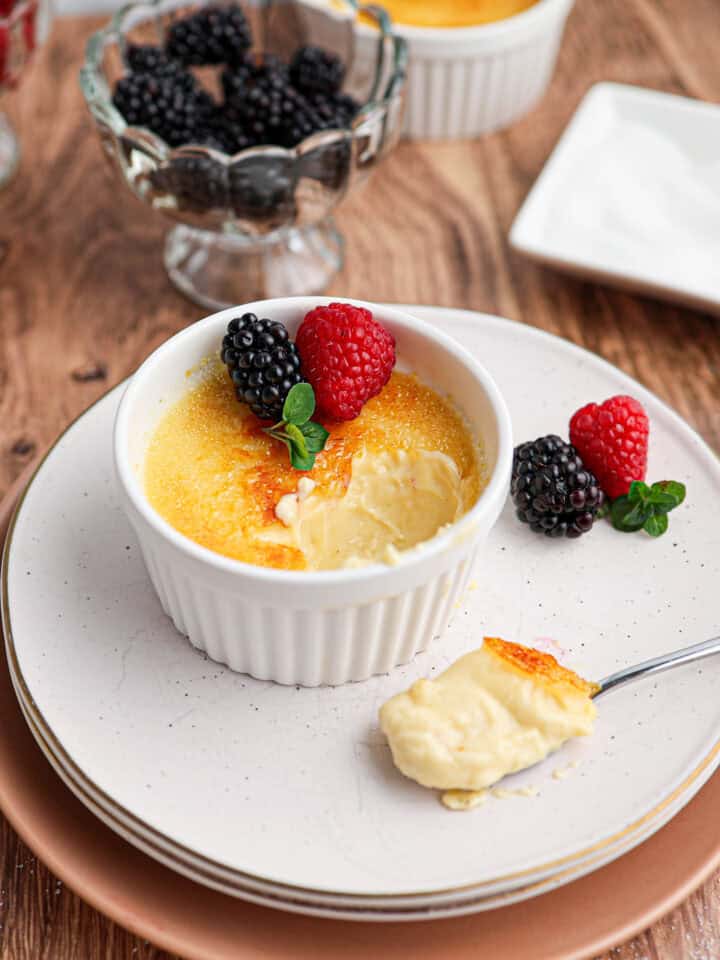
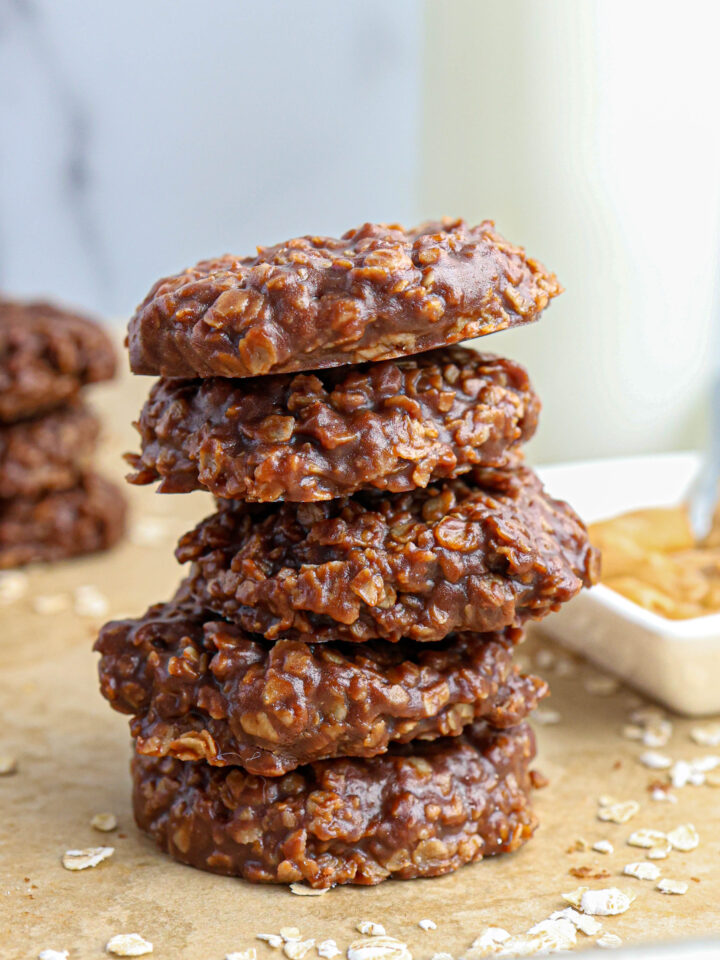
More dessert recipes you will love.
Equipment
- Electric mixer: I love using my KitchenAid Stand mixer for this recipe. An electric hand mixer also works great.
- Parchment lined baking sheet: They don't need to bake in the oven so you could also use a large serving tray or a couple of large parchment lined plates.
- Microwavable bowl: For melting the chocolate chips.
Ingredients
- Peanut Butter: Crunchy or smooth will both work for this recipe. It's entirely up to your preference! I personally like using Justin's Honey Peanut Butter. The texture and sweetness level work great!
- Powdered sugar
- Unsalted butter
- Puffed rice cereal: I use the traditional Rice Krispies Cereal for this recipe, but you can use any brand you'd like.
- Semi-sweet chocolate chips
- Coconut oil (optional): While optional, coconut oil adds a nice shine and helps the set of the chocolate. You could also substitute with vegetable shortening if desired.
Step-by-Step Photos
Time needed: 1 hour and 35 minutes
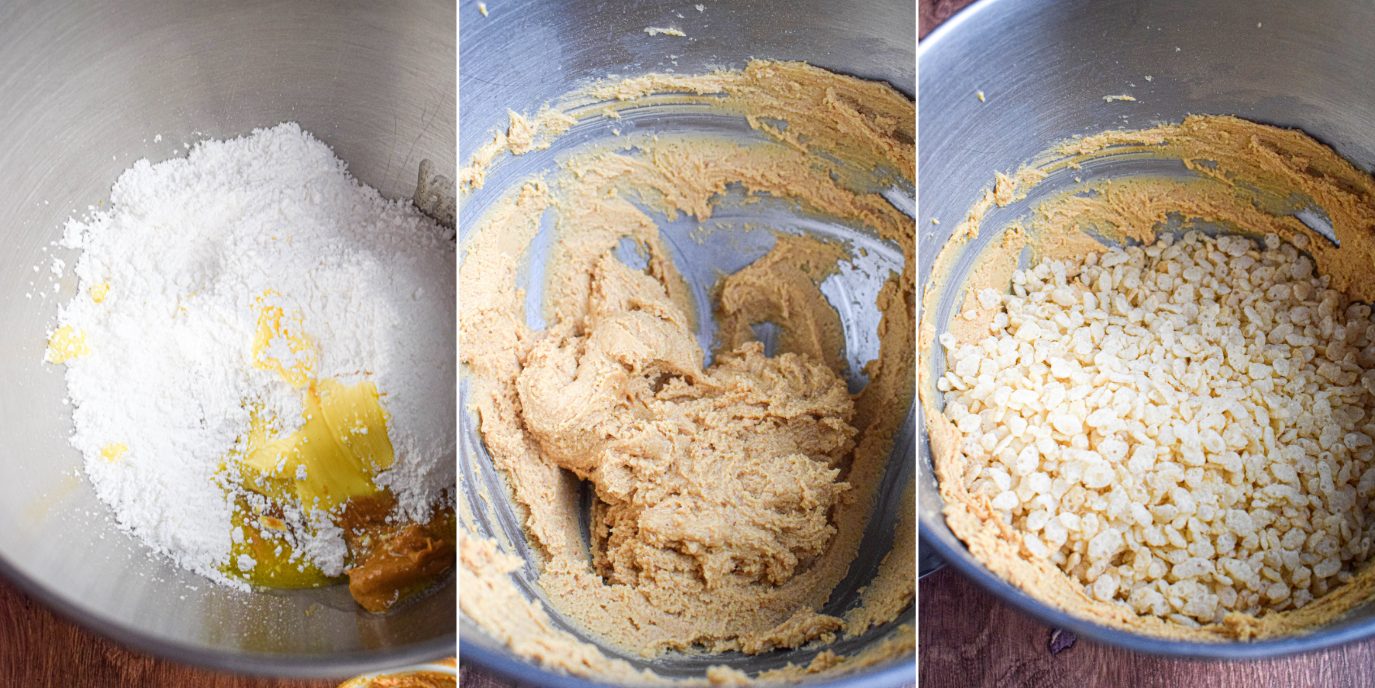
- Make the peanut butter rice Krispie mixture.
In the bowl of a stand mixer add peanut butter, powdered sugar and melted butter and mix until smooth. Pour in the rice Krispies and mix on low for about 10 seconds until they are evenly incorporated.
- Roll the peanut butter mixture into 1-2 tablespoon balls.
You can use a cookie scoop to ensure even sizing, or just eyeball it. They're delicious either way!
- Melt the chocolate.
Combine the chocolate chips and coconut oil in a microwave safe bowl. Microwave in 30 second increments, stirring in between, until the chocolate has melted.
- Cover the peanut butter balls in melted chocolate.
Once the chocolate is melted use two spoons to carefully dip each peanut butter rice krispie ball until fully coated. Place the chocolate covered ball on a parchment lined baking sheet or serving tray.
- Place in to fridge until the chocolate coating set and enjoy!
Frequently Asked Questions
It kind of depends on how cold you keep your house but they do keep best when stored in the fridge. The chocolate coating stays firm, and the filling holds its shape. They'll last about 1-2 weeks refrigerated in an airtight container.
Yes you can. Just place them in a single layer on a baking sheet to freeze, then transfer to an airtight container or freezer bag. Thaw in the fridge before serving.
You can, but natural peanut butter tends to be a bit runnier and may make the mixture softer. For best texture and easy rolling, a more traditional creamy peanut butter (like Justins) works best.
More recipes for you to enjoy.
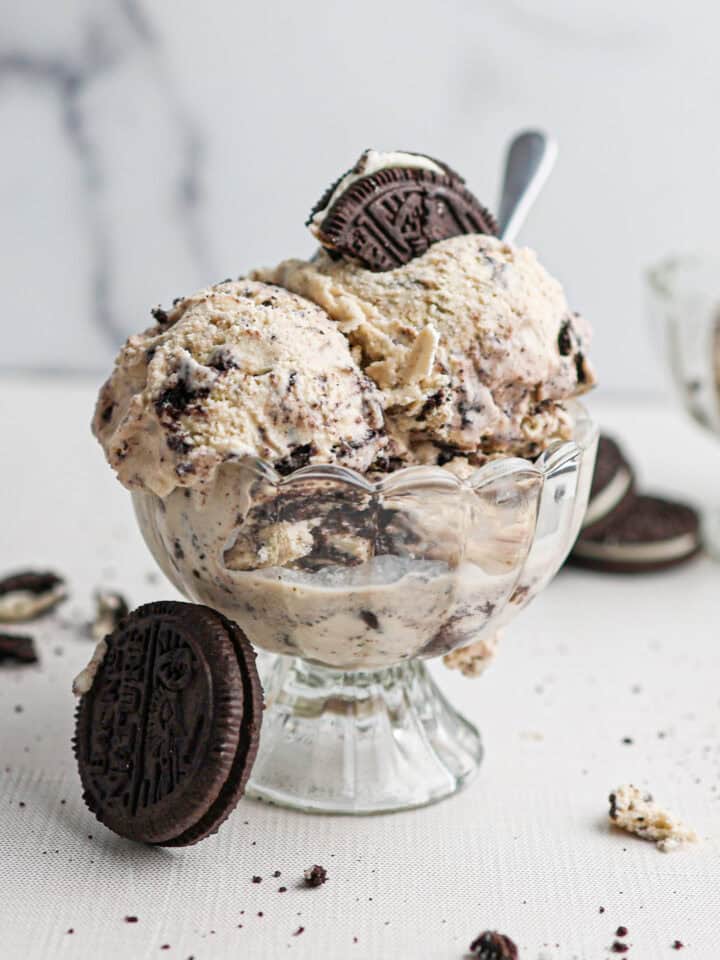
No-Bake Oreo Peanut Butter Pie
Made these Rice Krispie Peanut Butter Balls? Let me know what you think in the comment!
Recipe

Rice Krispie Peanut Butter Balls
Equipment
- Electric Mixer
- parchment lined baking sheet
- microwave safe bowl
Ingredients
- 1 cup peanut butter I recommend Justin's Honey Peanut but your favorite brand will work.
- ¾ cup powdered sugar
- ¼ cup unsalted butter, melted
- 2.5 cups puffed rice cereal such as Rice Krispies cereal
- 12 oz semi-sweet chocolate chips
- 1 tablespoon coconut oil optional, can also substitute vegetable shortening
Instructions
- Line a baking sheet with parchment paper and set aside. In the bowl of a stand mixer (or large mixing bowl with an electric hand mixer) combine peanut butter, powdered sugar and melted butter. Mix on medium speed until well combined and creamy. Pour in the puffed rice cereal and mix on low for 10-15 seconds until evenly distributed.
- Using a cookie scoop (or your hands and best guess) roll out 1-2 tablespoon balls of the peanut butter mixture and arrange on the parchment lined baking tray until all of the mixture has been used up. Place the tray in the freezer for at least 15 minutes (or the fridge for at least an hour) to firm them up before covering in chocolate.
- Once the peanut butter balls have firmed up melt the chocolate. Combine the chocolate chips and coconut oil in a microwave safe bowl and microwave for about a minute and a half in 30 second increments. Stirring each time until the chocolate is melted.
- Take the balls out of the freezer and carefully drop them into the melted chocolate, one at a time, rolling until they are completely covered. Use a fork to remove them onto the parchment lined tray. Repeat until all of the balls have been covered. Garnish with sprinkles or extra rice Krispies if desired. Allow them to chill in the fridge until the chocolate is fully set. Enjoy!


Jessica Moena
I tried this recipe and couldn’t get the rice crispy mixture mixture to hold together into balls. I do not understand what ingredient holds the balls together, mine just fell apart and made a mess everywhere.
jamjarkitchen
Hi Jessica - I'm sorry the recipe didn't work for you! I make these every year, as do many friends and family, and have never had this problem. Did you use the stated amount of peanut butter and blend until well combined. And then did you roll them into balls and freeze for at least 10-15 minutes before dipping chocolate? This ensures that they stay together and don't fall apart when coating.
Cait
Made these for a superbowl party yesterday and they were a hit! My husband and I like making treats together after church, so when I showed him this recipe, he was a little skeptical, as he never had them before. After they were made, he couldn’t stay out of them (me neither haha)! Delightful little treats, very easy to make, and the recipe is simple to follow. Thanks for sharing! Will be making these again soon 🙂
jamjarkitchen
So glad y'all liked them! 🙂
Catherine
Fell apart when I tried to roll! I am still wondering why we need a 1/4 cup of butter added to already fatty peanut butter!
jamjarkitchen
Oh no, I’m so sorry they fell apart on you! I just made a batch this week and they held together really well, so I’m not quite sure what happened here. What kind of peanut butter did you use? Sometimes the texture (especially if it’s a natural PB that’s a bit runnier or not fully mixed) can make a big difference.
And the butter helps with the texture and richness so they stay soft and creamy once chilled, but the mixture should definitely still roll without crumbling. Happy to help troubleshoot!