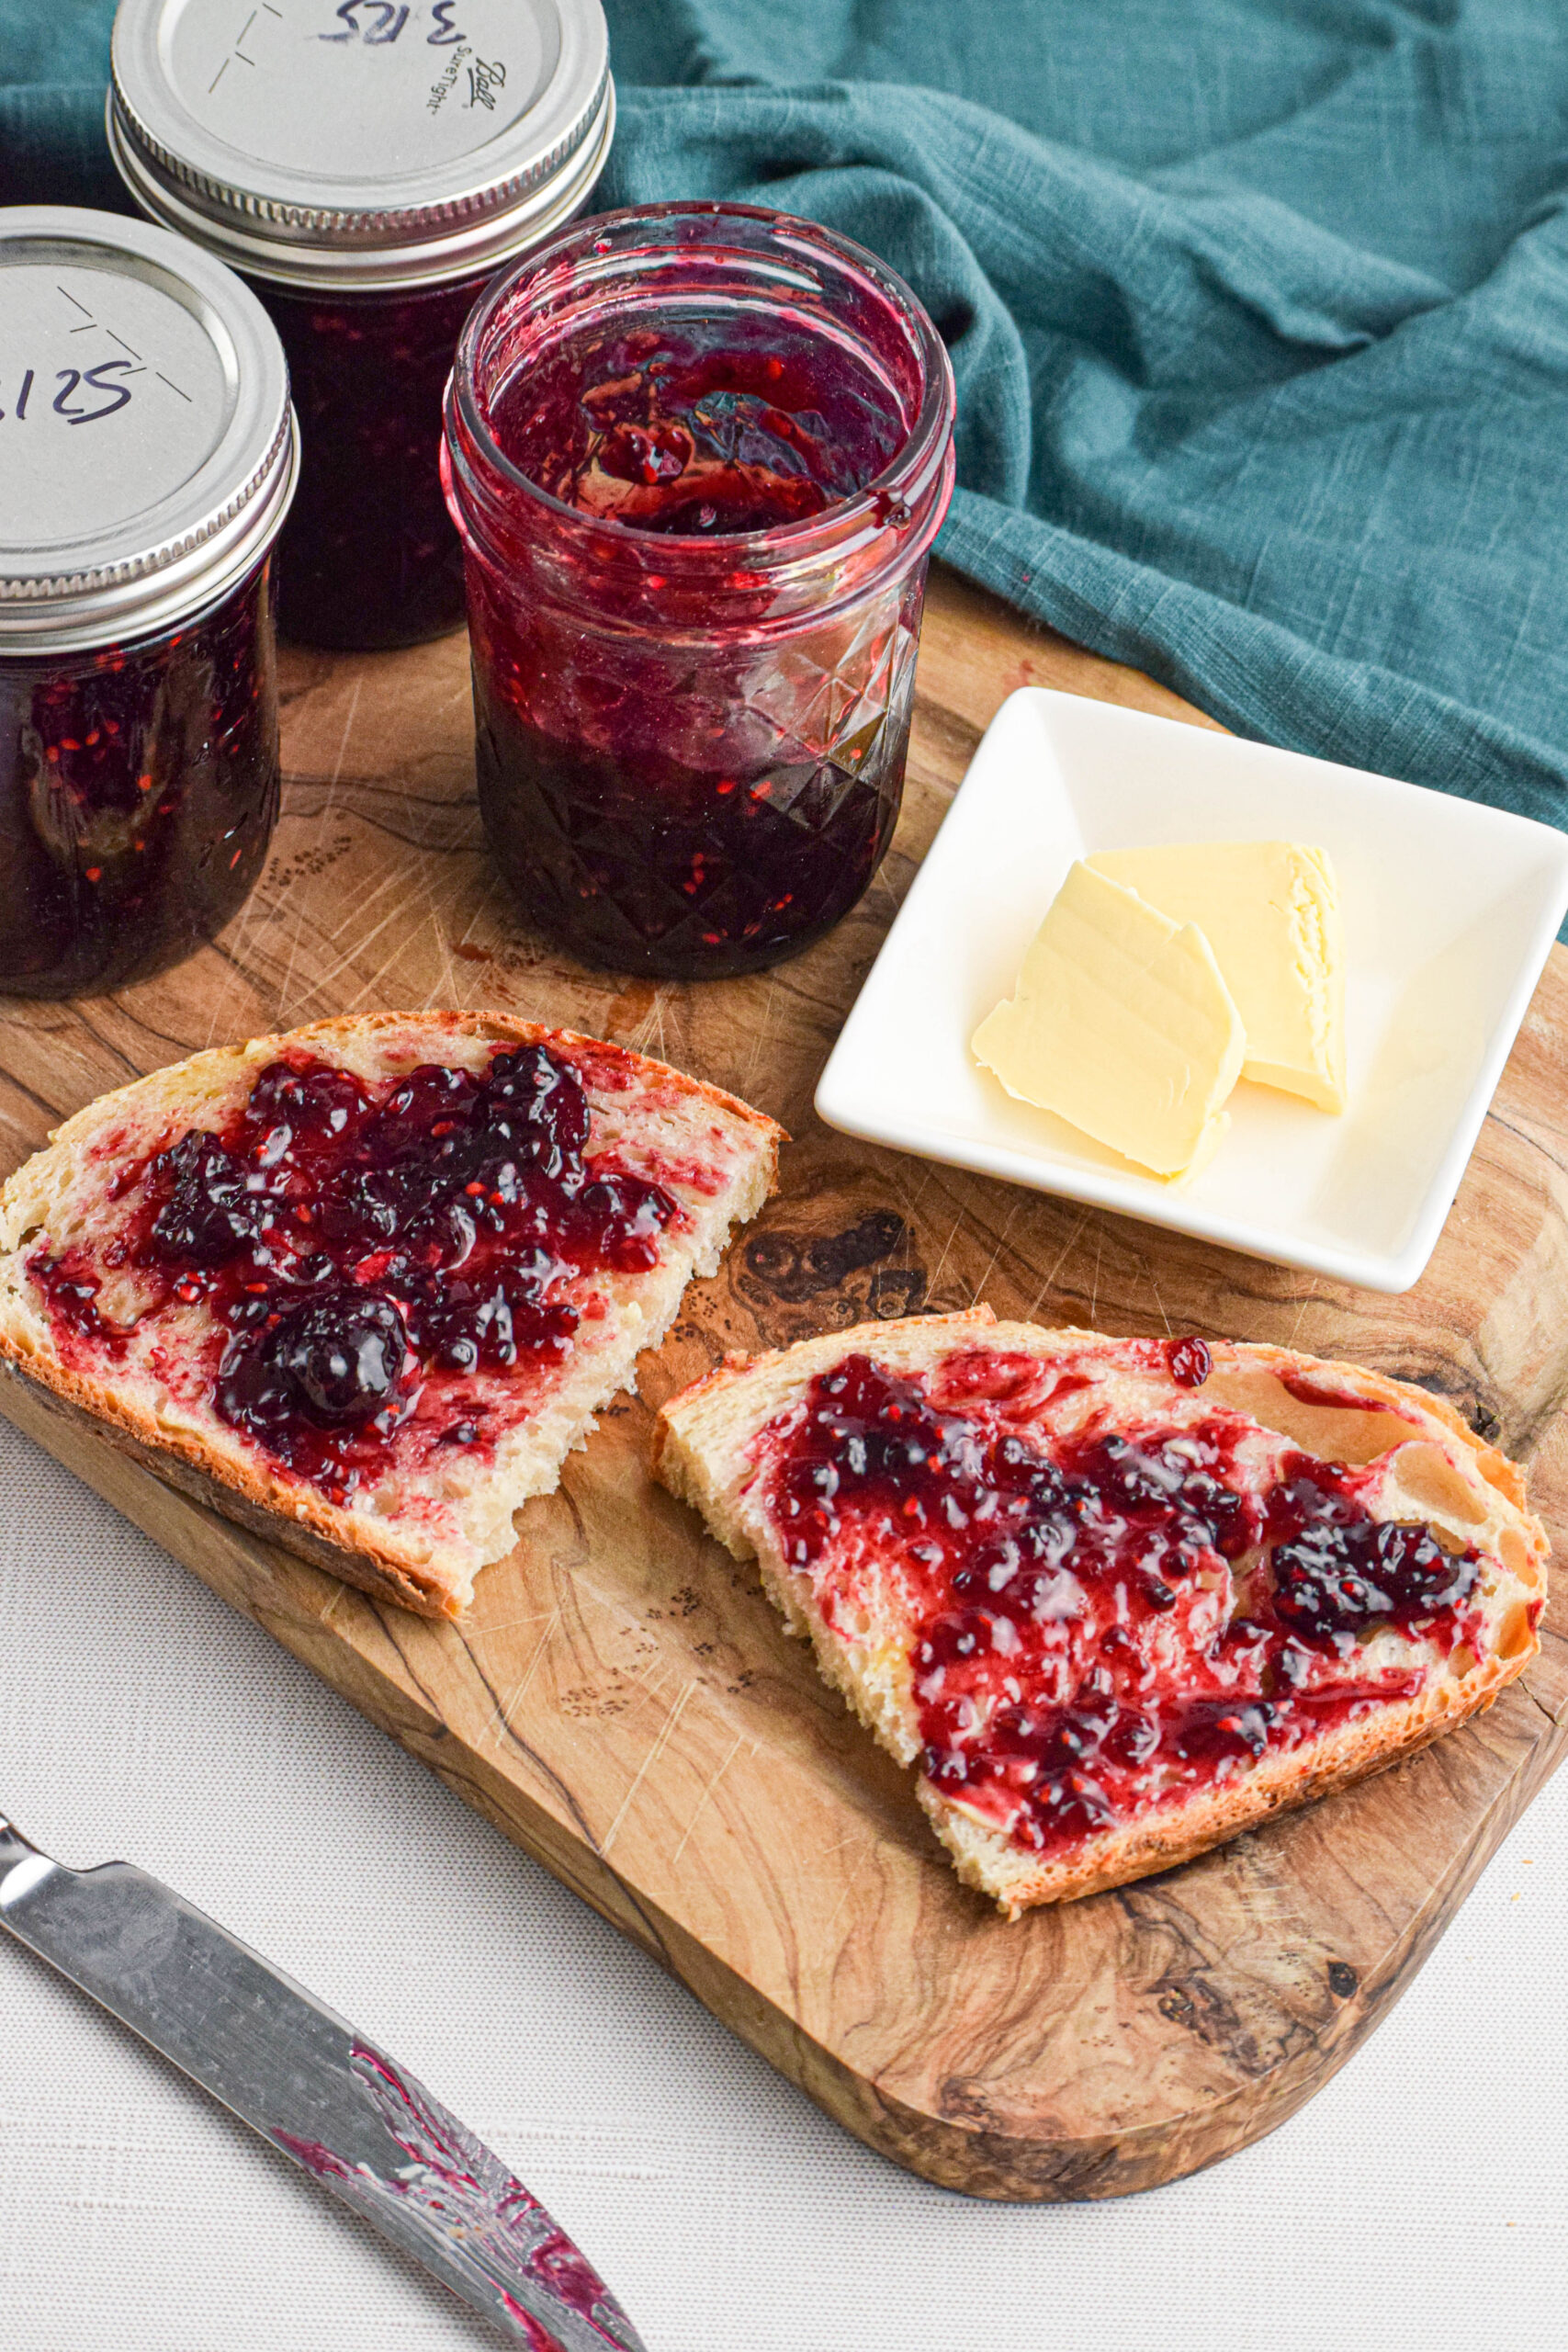
These Blackberry Preserves are a simple, delicious way to enjoy the flavor of ripe berries year-round. This easy recipe uses just a few ingredients with no added pectin for a rich, fruity spread that's great on toast, pancakes, or stirred into oatmeal. This recipe is safe for water bath canning so you can stock your pantry with this delicious preserve!

This homemade blackberry preserve recipe is on of the easiest and most satisfying canning recipes I have. With no added pectin and just a handful of ingredients, it lets the natural taste of the berries shine through. It's beginner-friendly but still delivers that classic, thick, spoonable texture you want in a good preserve. Plus, it's tested for safe water bath canning, so you can confidently store or gift your jars knowing they'll keep well. Whether you're new to canning or just looking for a reliable, no-fuss recipe, this one won't let you down.
Jump to:
What is the difference between a jam and a preserve?
It mainly comes down to the texture and how the fruit is used:
- Jam is made by cooking crushed or mashed fruit with sugar. The result is thick and spreadable, with a smooth texture and small bits of fruit throughout.
- Preserves contain larger chunks-or even whole pieces-of fruit. They tend to have a looser texture than jam, and you'll notice more fruit in every spoonful.
When I make this particular recipe I tend to leave the blackberries whole, but you can absolutely crush them down a little if you prefer.
What is water bath canning?
Canning is simply the process of applying adequate heat to high acid food that is sealed in jars for the allotted time necessary to kill off bacteria and micro-organisms that cause food spoilage. During heating, oxygen is driven out of the jars, causing a vacuum seal to form when the jars cool down. This prevents any outside micro-organisms and oxygen from getting back into the food. When done correctly, canning preserves food safely for at least a year, although probably much, much longer.
You can check out my guide on How to Safely Water Bath Can at Home more resources on safe home preserving.
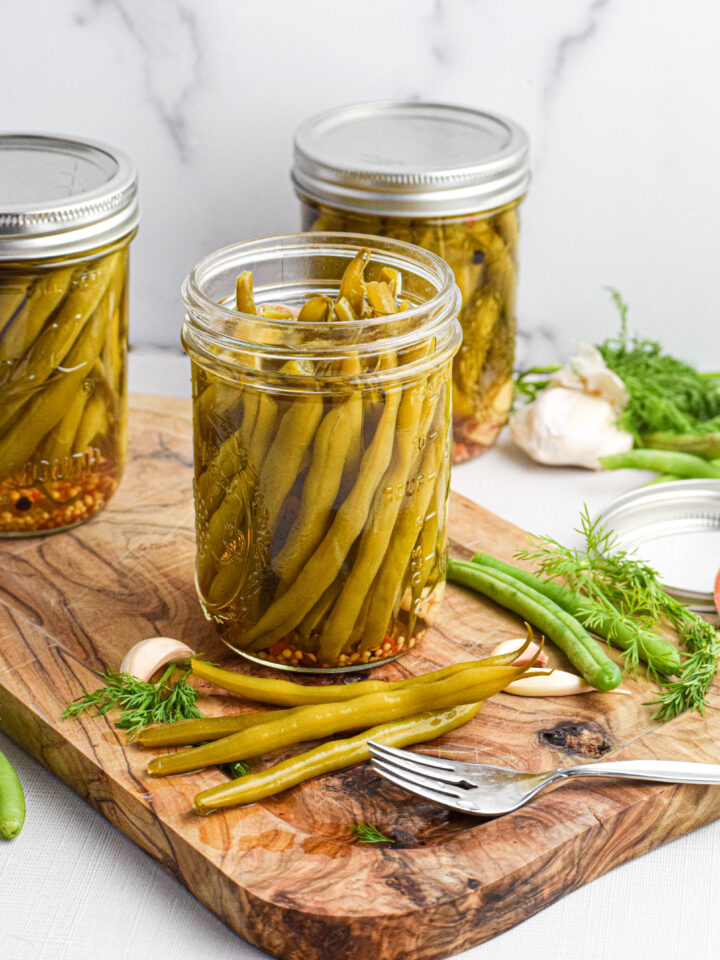
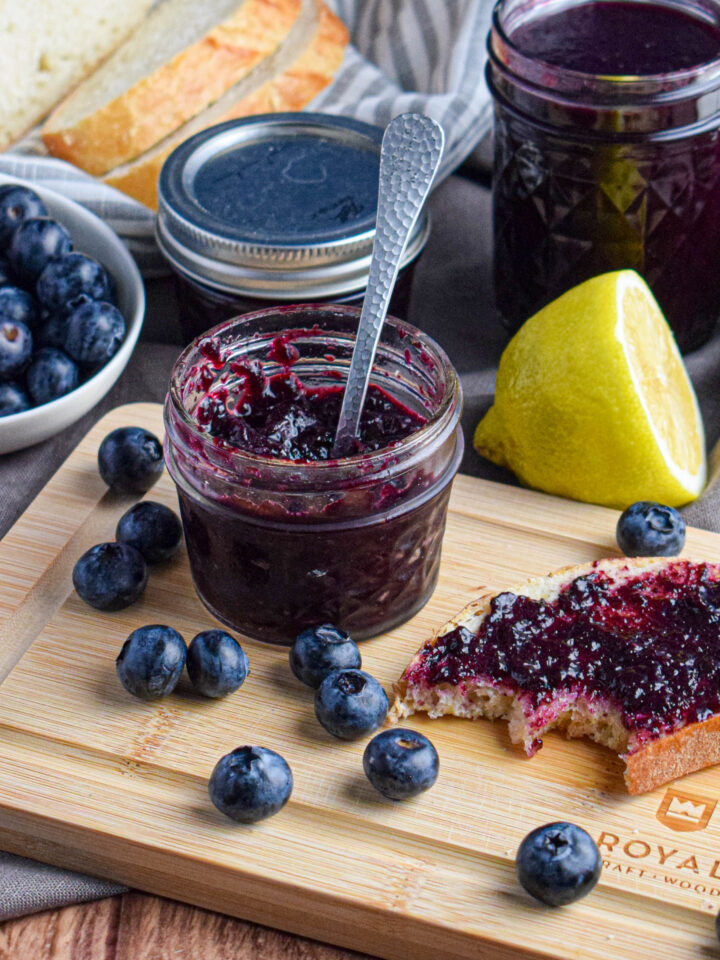
More preserving recipes for you to love.
Equipment
For the Blackberry Preserves.
All you will need are measuring cups and a large pot.
For water bath canning.
- Mason jars: Make sure the jars are clean and that the lids are brand new. You cannot reuse canning lids.
- Large pot with rack OR Electric Canner: If you only can once in a while using a large pot with a canning rack works just fine. As someone who personally does a lot of canning and I absolutely LOVE my Ball FreshTech Electric Canner.
- Jar lifter: You will need a jar lifter to remove the hot jars from the water bath.
- Funnel: I personally love this canning funnel because it also allows you to measure the headspace easily.
- Ladle: This Prepworks Canning Scoop is my favorite.

Ingredients
- Blackberries: You can use fresh or frozen for this recipe. They are best when ripe and at the peak of the season.
- White granulated sugar
- Lemon: I like adding the juice of one small lemon.
- Salt (optional): I like adding a pinch of salt to my jams and preserves such to balance the sweetness.
Recipe FAQs
Yes, you can use fresh or frozen blackberries for this recipe. Frozen blackberries will require a bit more cooking time before they reach the gel stage.
No, not really. Some people like throwing a few tablespoons of Pomonas Pectin but I think it works fine without.
It can take up to 24-48 hours for preserves to fully set. If they're still too runny, you can re-cook the batch with a bit more lemon juice or sugar. Or simply use it as a lovely blackberry syrup.
Absolutely. If you're not canning, just pour the hot preserves into clean jars, let them cool, and store them in the fridge.
More recipes you will enjoy.
Made this blackberry preserves recipe? Let me know what you think in the comments!
Recipe

Blackberry Preserves
Equipment
- Large pot
- Measuring cups
- Potato Masher (optional)
- Water bath canning equipment (see above)
Ingredients
- 6 cups blackberries
- 3 cups sugar
- 1 tablespoon lemon juice
- pinch of salt
Instructions
- Combine all ingredients in a large pot and then gently crush with a potato masher (if desired).Cover with a lid and allow the ingredients to macerate at room temperature for at least 30 minutes to release the juices.
- Place the pot on the stove and bring to a boil over medium/medium high heat. Turn to high heat and boil while stirring frequently for about 15-20 minutes until thickened and preserves reach 220 degrees F or pass a gel test (see notes below for more info).Remove from the heat.At this point you can either ladle the jam into jars and store in the fridge or follow the water bath canning instructions below.
Water Bath Canning Instructions
- Ladle the preserves into jars leaving about ¼th to ?rd inch of headspace.Remove air bubbles and wipe the jar rims.Place on new, clean lids and bands and process in a boiling water bath for 10 minutes (adjusting time for altitude).Turn off the heat and allow the jars to rest in the warm water for 5 minutes before removing and placing on a towel on the counter (do not place directly on the counter).Allow the jars to cool undisturbed for about 24 hours until all the lids have sealed.Store sealed jars in a cool dry place for 18 months for best quality.*Note* If any of the jars do not seal simply store in the refrigerator and consume within 2-3 weeks.
Notes
-
- By Temperature: Jam and preserves typically gel when they reach 220 F (at sea level). Use a thermometer to measure the temperature to see when it reaches gel point. (But don't take it over this temperature or your preserves might firm up too much.)
- The Spoon Test/Sheeting: Dip the back of a cold spoon into the preserves. Then remove and allow it to cool for few seconds before tilting it so that the preserves runs off. If the preserves drip off in a thin stream it needs to cook longer. If it forms a thick blog or "sheets" off the spoon it has reached the gel point.
- The Frozen Plate Test: Place a small plate into the freezer before you start making the preserves. When you think they are ready, take the plate out and spoon a little on the plate. Let it set for about 30 seconds then run a finger through the preserves. If your finger leaves a distinct line through that doesn't immediately fill in you have reached the gel stage.


Jennie
This is definitely a great and easy way to can blackberries. Love it ?
Jaleah Kendrick
Absolutely loved this recipe!! Super easy to follow and the results were amazing.
amy liu dong
I love this recipe! Now, I know what to do with my blackberries. Thank you so much for sharing this!
Deborah
So easy to make. And boy, delicious is an understatement. I'm so glad I made a batch of this so I can have it for awhile on my toast.
jamjarkitchen
So glad you enjoyed it!
Bev
There is SO much I love about this recipe! First and foremost, it tastes great! I love that it doesn't use pectin. I can never seem to get ot the right consistency when I use pectin! I also love that you can use the water bath canning method. Can't wait to make it again!
jamjarkitchen
Hi Bev - So glad you like the recipe!
Lathiya Shanmugasundaram
I loved this blackberry preserve. With just 4 ingredients, I can use this preserve in several ways. Amazing.
jamjarkitchen
So glad you liked it!
Rebecca
Our blackberry bushes are going bonkers and I'd like to make preserves. If I skip the canning part, how long will they store/stay fresh in the fridge? Thanks!
jamjarkitchen
That sounds amazing, fresh blackberries are the best! If you make preserves but skip the canning, you’ll want to store them in an airtight container in the fridge and use them within about 2–3 weeks. You can also freeze them in smaller portions if you’d like to keep some for later without canning.