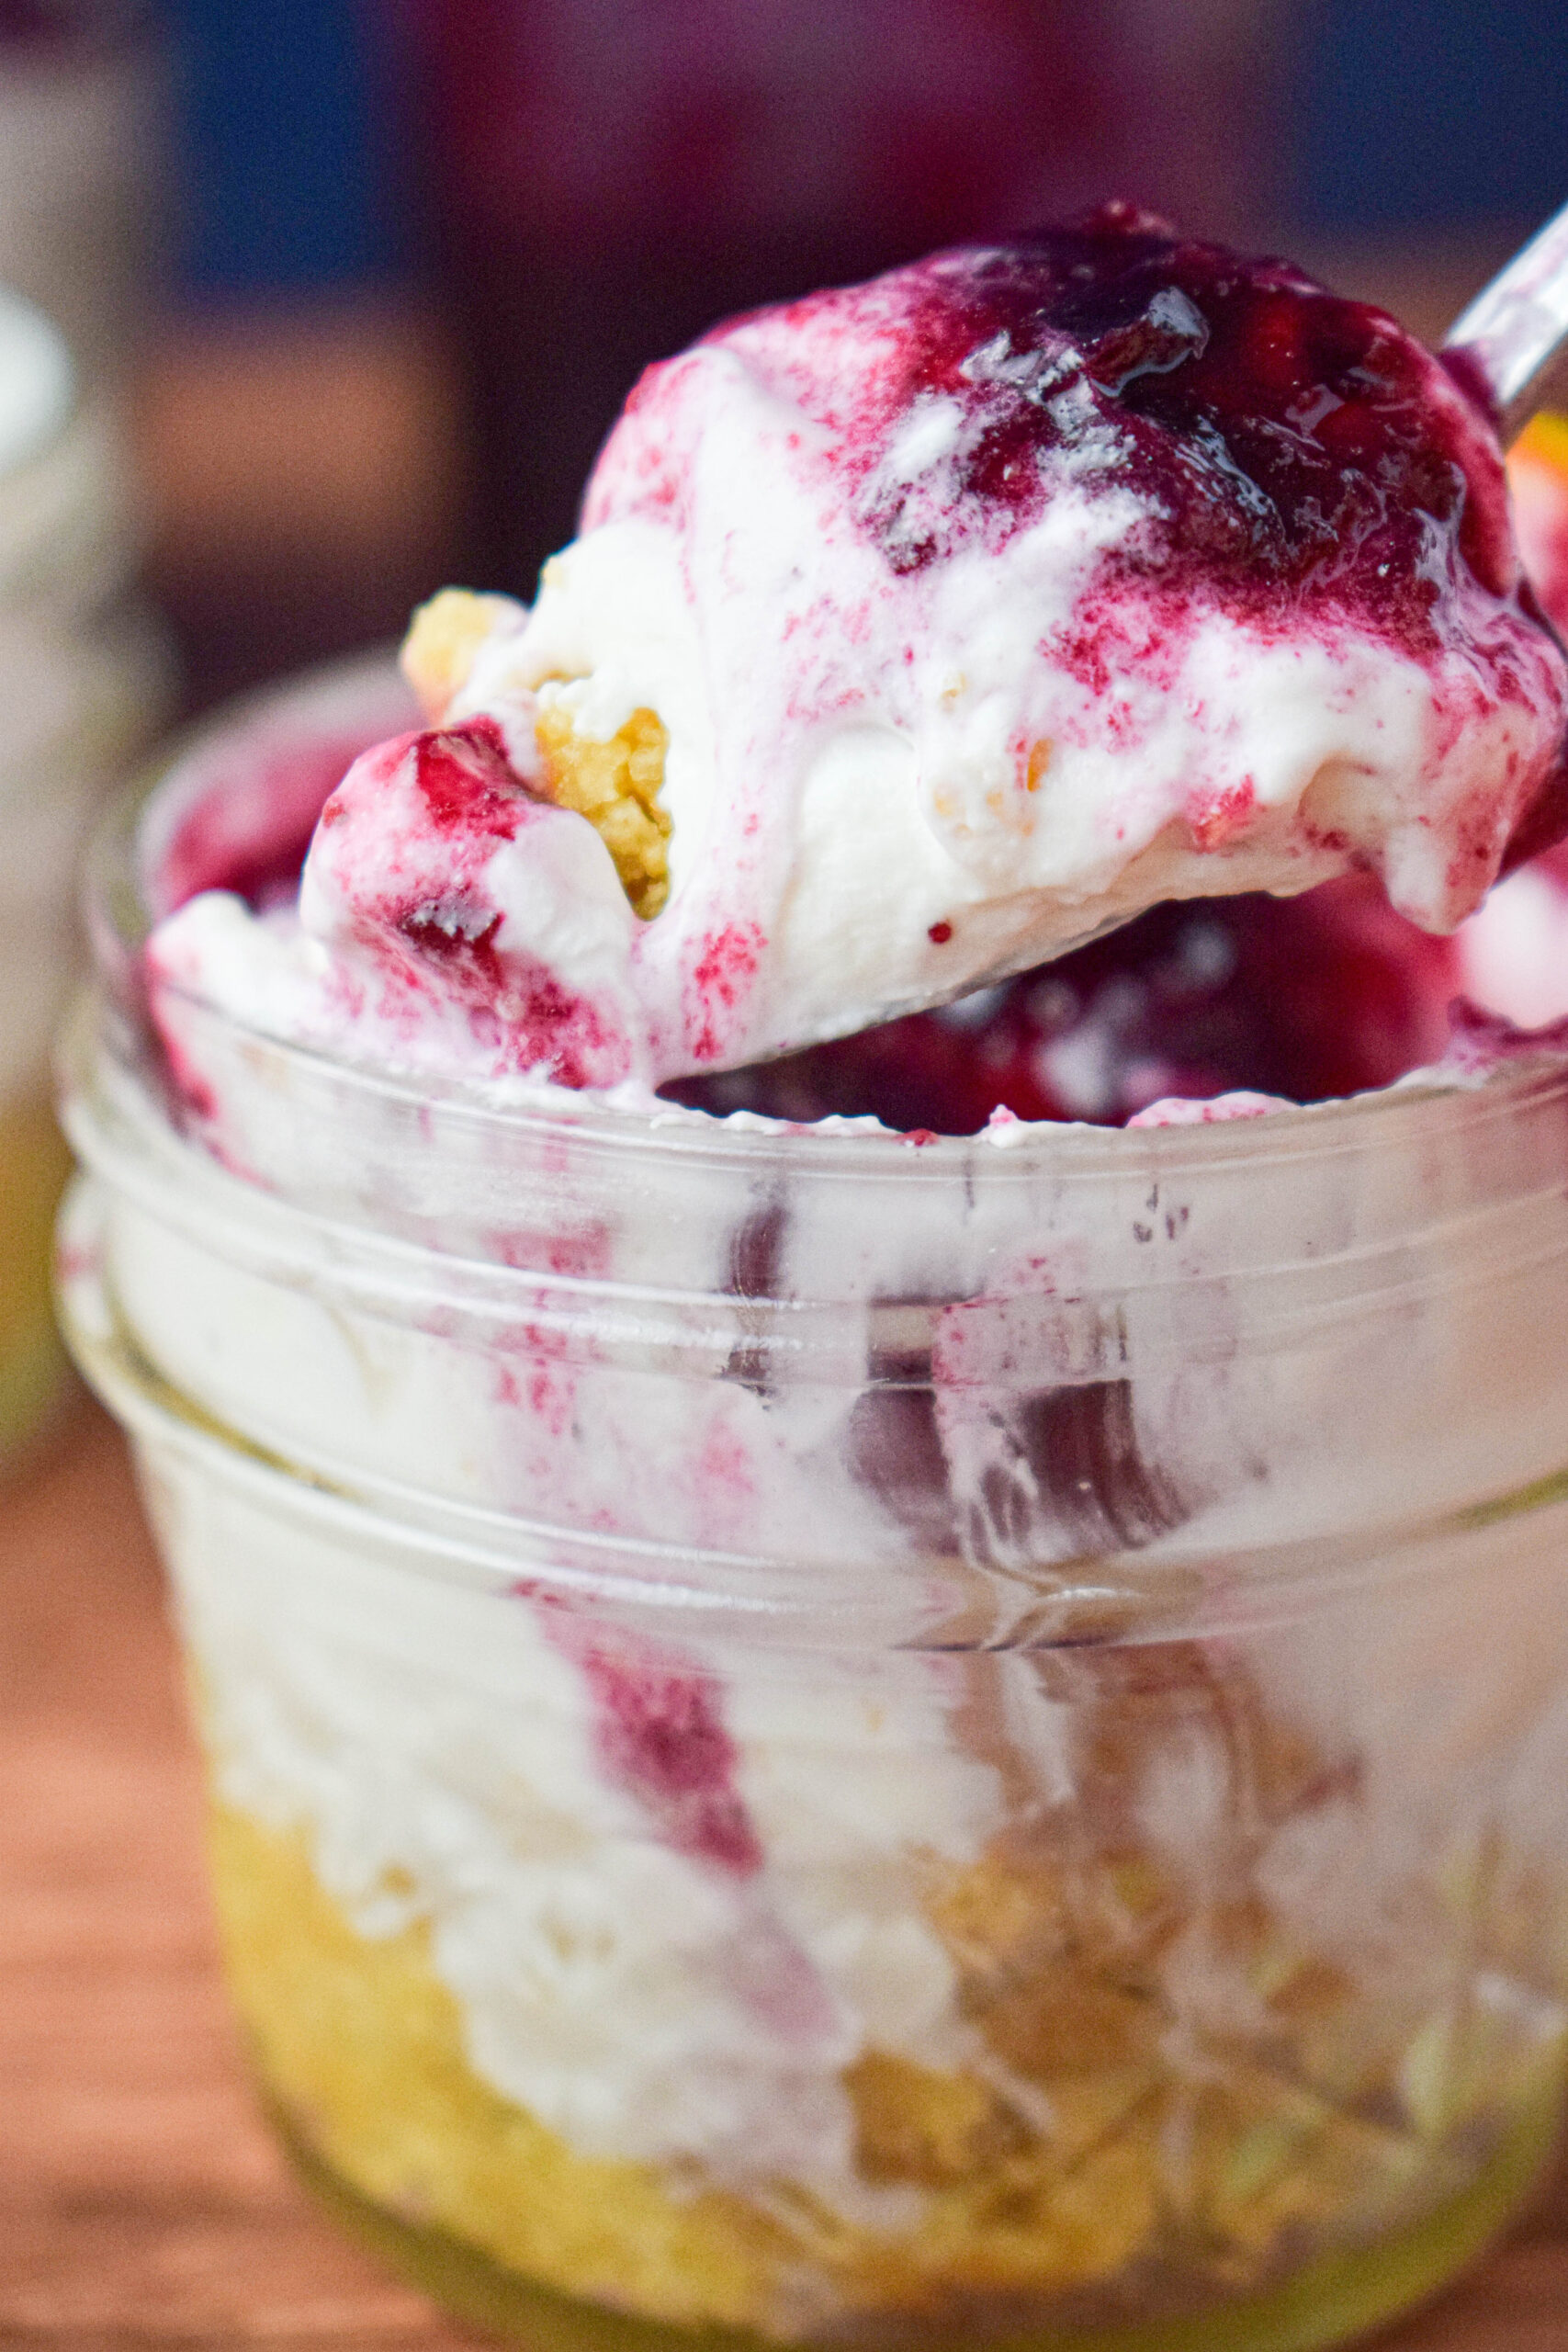
These adorable mini no bake cheesecakes are assembled in mason jars for the perfect sweet bite! A fantastic dessert for an event or meal prep, these can easily be made ahead and served a day or two later.
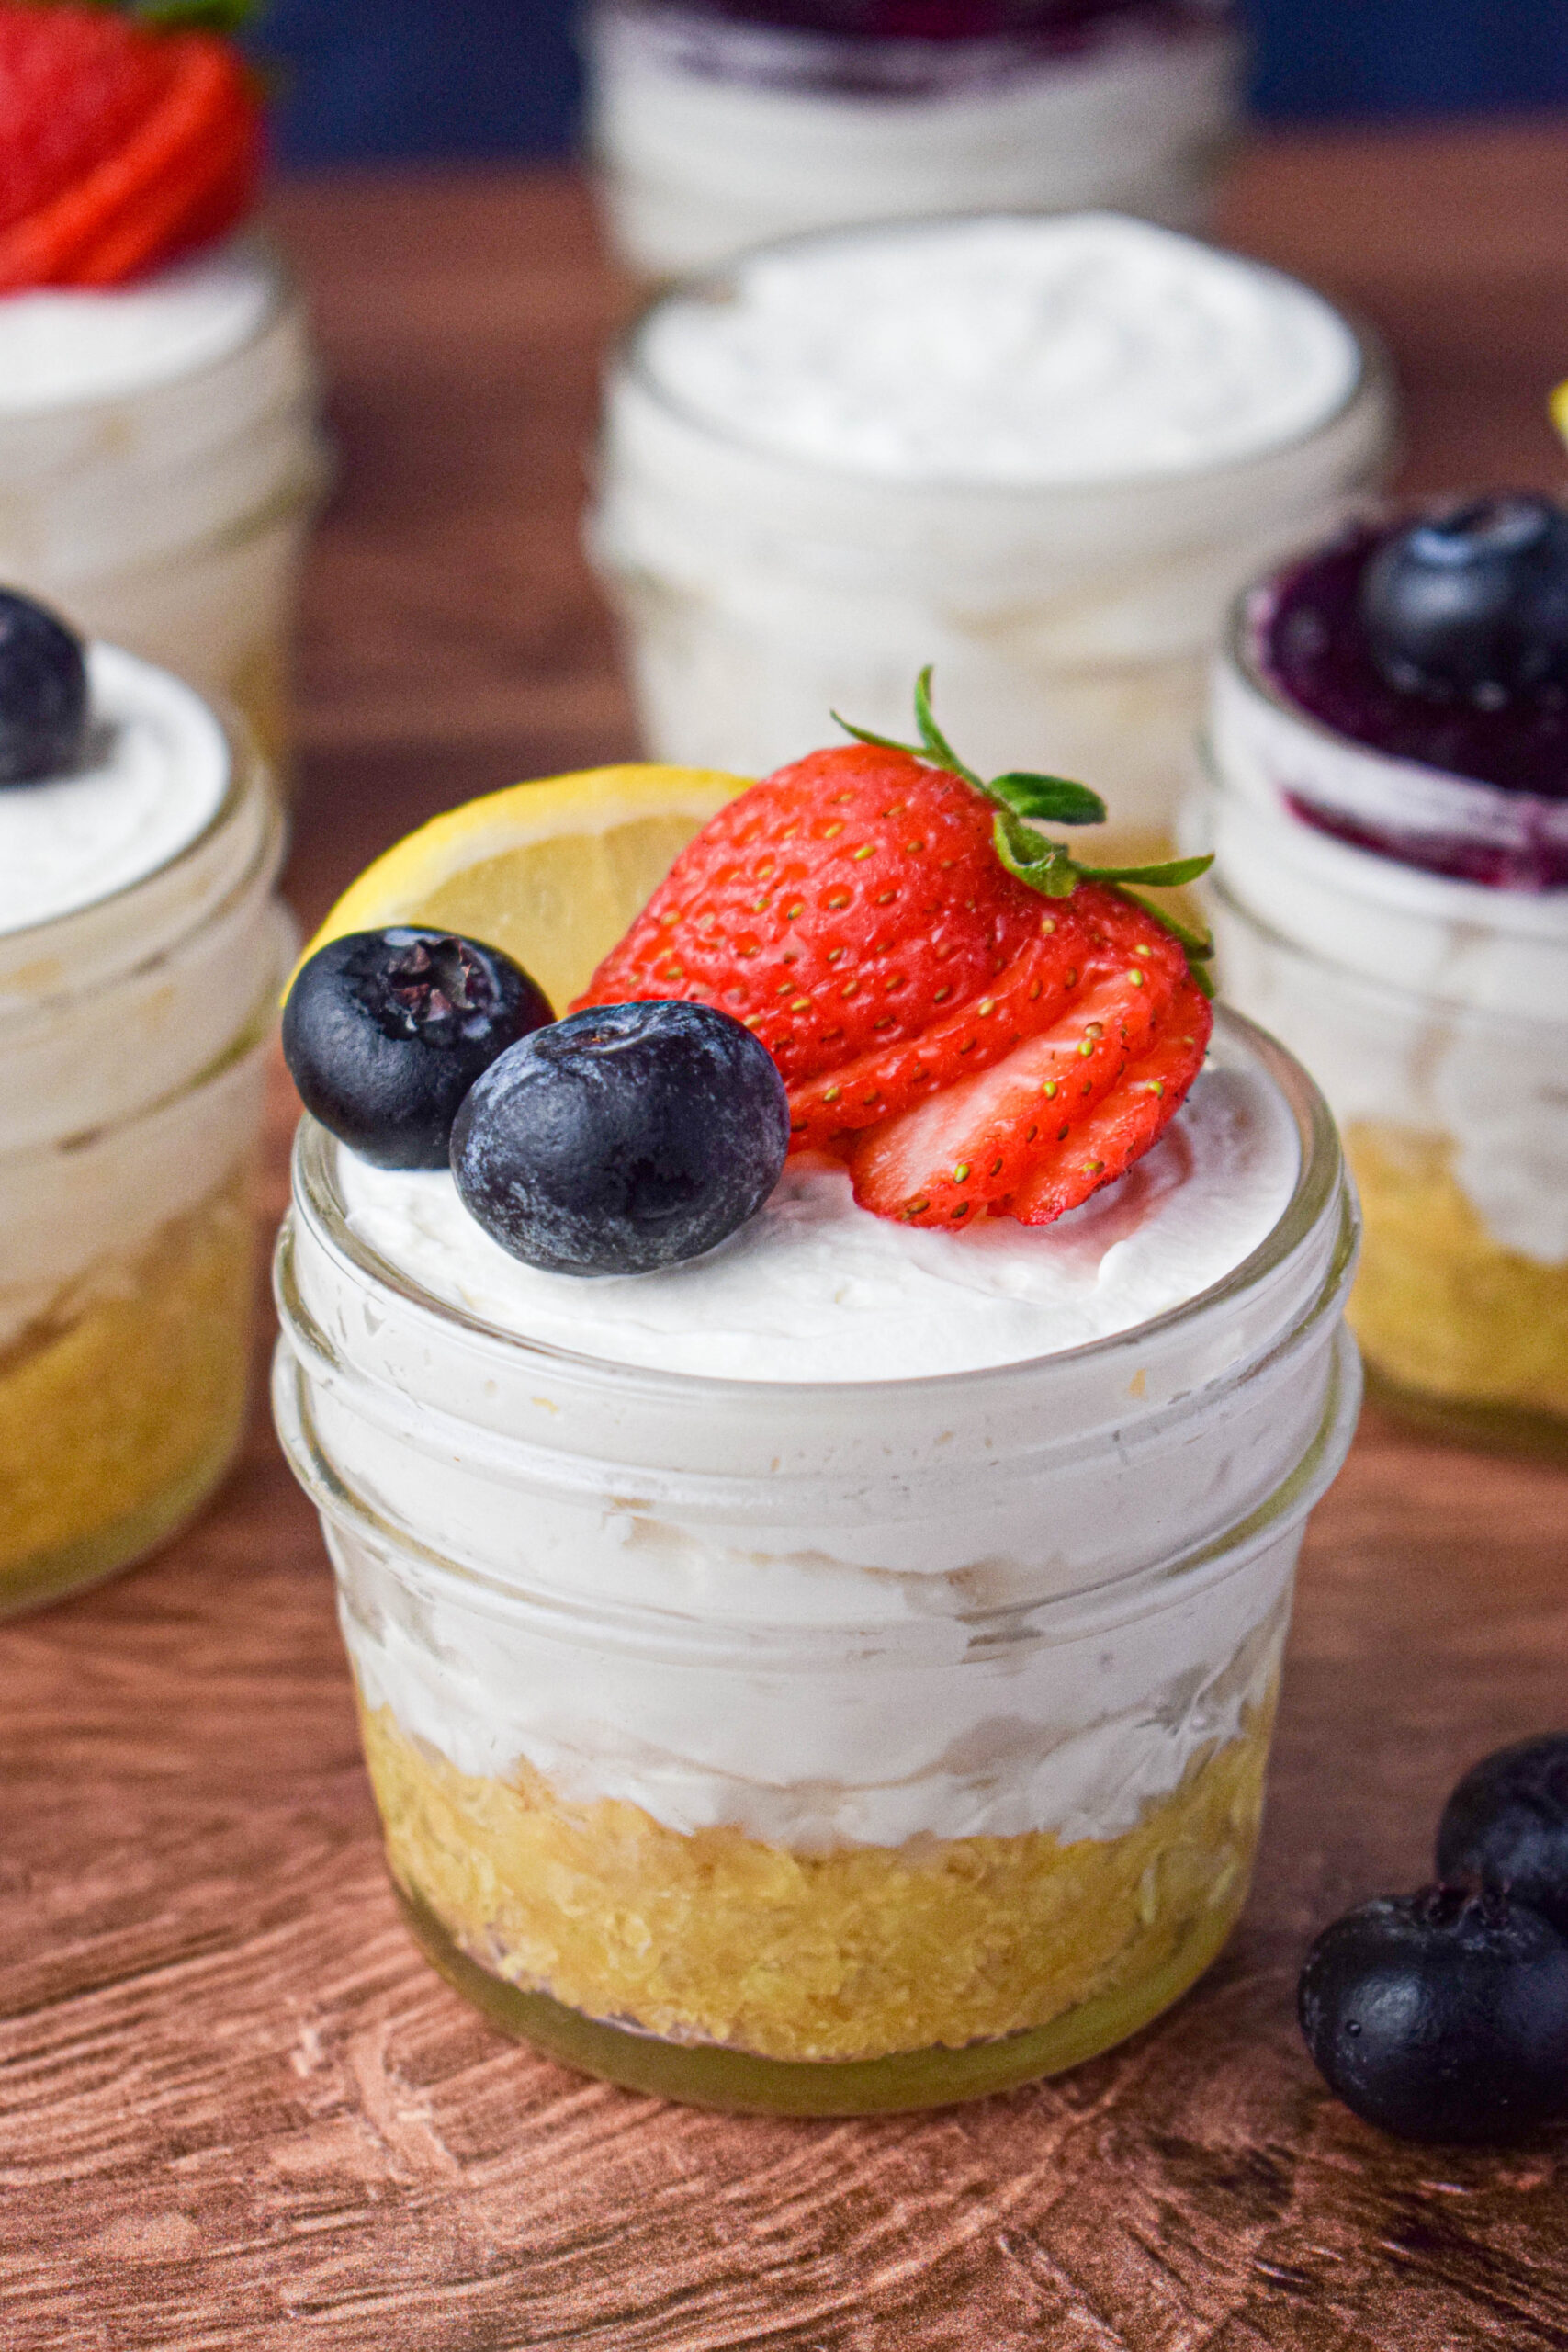
I love making no bake cheesecakes in mason jars. They are perfect for events or even just as a prepped dessert for the week!
This version is as classic a no bake cheesecake as you can get. Which means you can really get creative with toppings! I love using fresh fruit and different homemade jams or you can top with crumbled candy or chocolate chips. The sky is the limit! Hope you enjoy these little gems as much as we do!
Jump to:
No Bake Cheesecake vs. Traditional Cheesecake
So what is the difference between cheesecake and no-bake cheesecake you might ask?
Well, besides the obvious of baked vs not, there is actually a significant textural difference. In fact, I actually think calling it "no-bake" cheesecake is kind of a misnomer as the dish far more resembles a thick mouse than an actual cheesecake. There are also no eggs in a no-bake cheesecake, which is great for anyone with allergies.
Regardless, it is a delicious treat that requires far less effort and time than a traditional cheesecake.
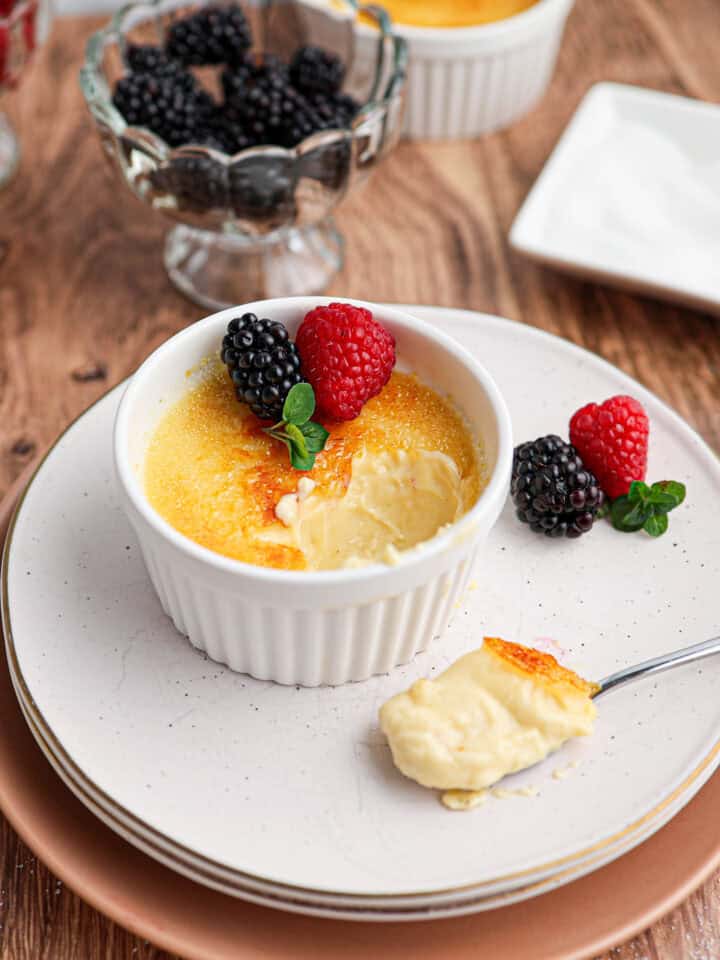
More dessert recipes you will love.
Equipment
- Mason jars
- Stand mixer with paddle and whip attachments or handheld electric mixer: I love my Kitchenaid Mixer and use it all the time for baking. This electric hand mixer is also fantastic.
- Food processor (optional): To make the crust you can simply combine pre-made graham cracker crumbs with melted butter. Or if you purchase whole graham crackers I recommend whipping it together in a mini food processor.
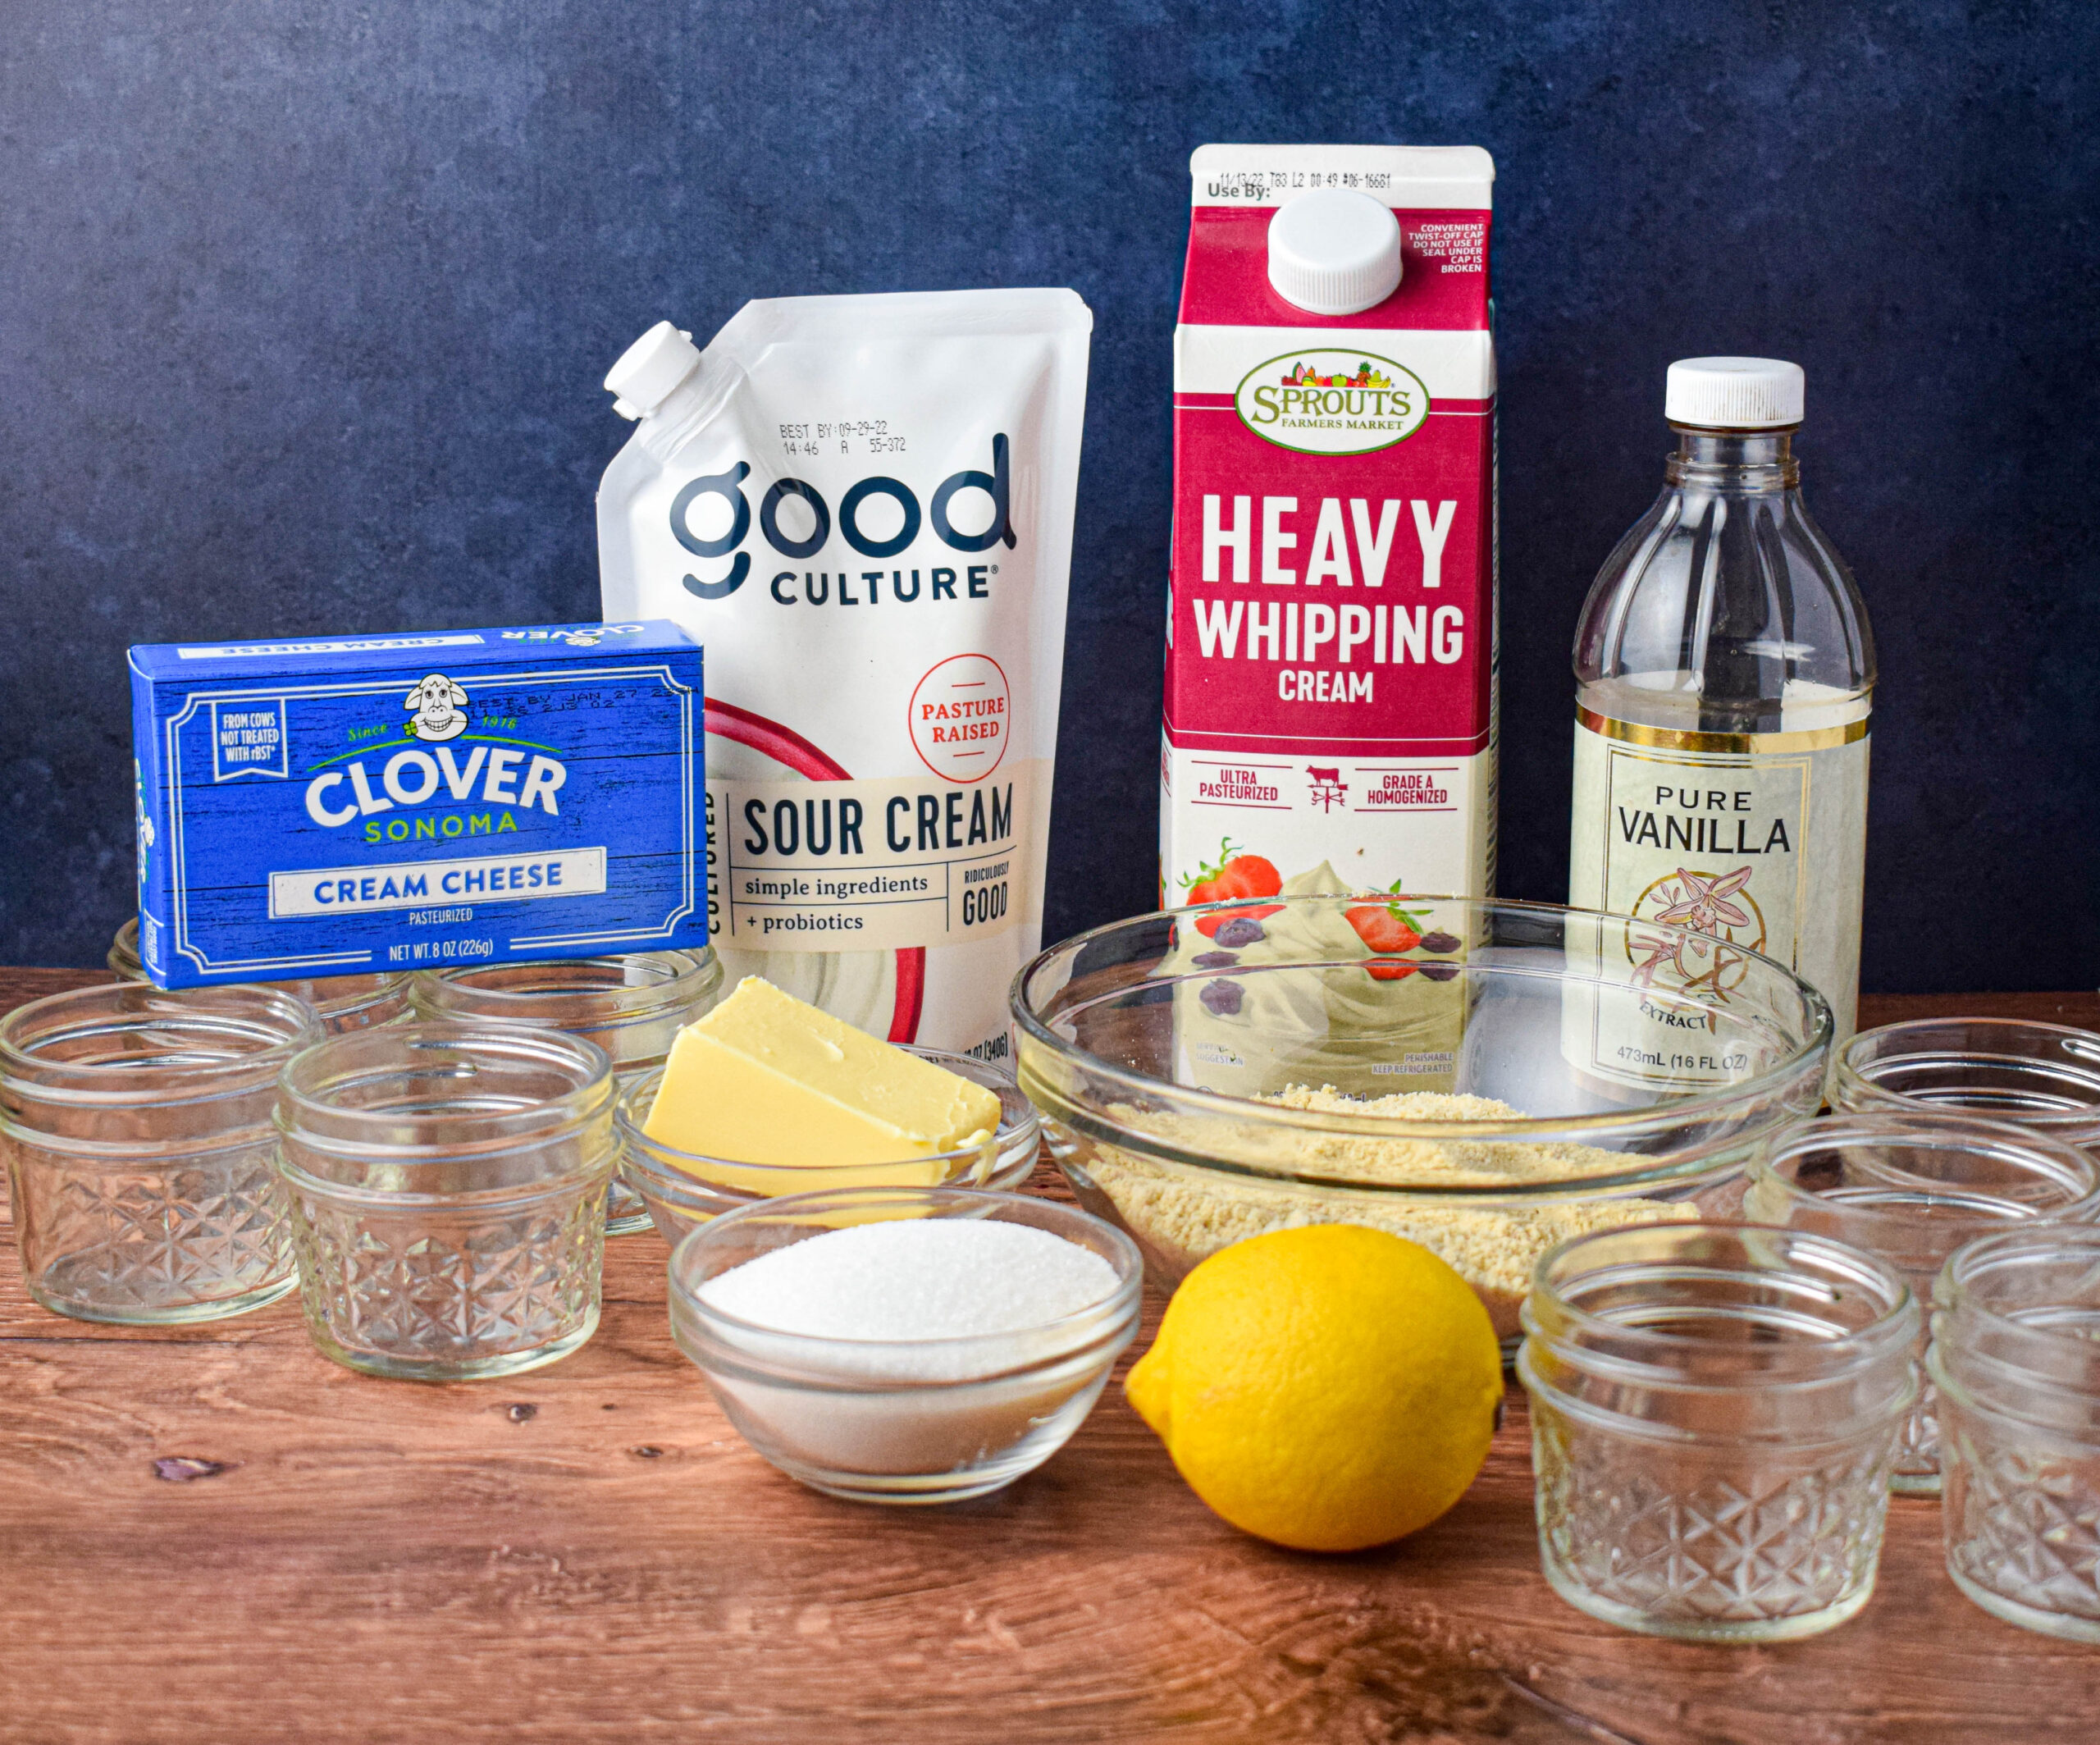
Ingredients
- Heavy whipping cream
- Cream cheese: I highly, highly recommend using full fat cream cheese for this recipe. Reduced fat cream cheese simply does not have the same flavor or texture.
- White granulated sugar
- Lemon juice
- Vanilla extract
- Graham crackers or graham cracker crumbs
- Unsalted butter
- Salt
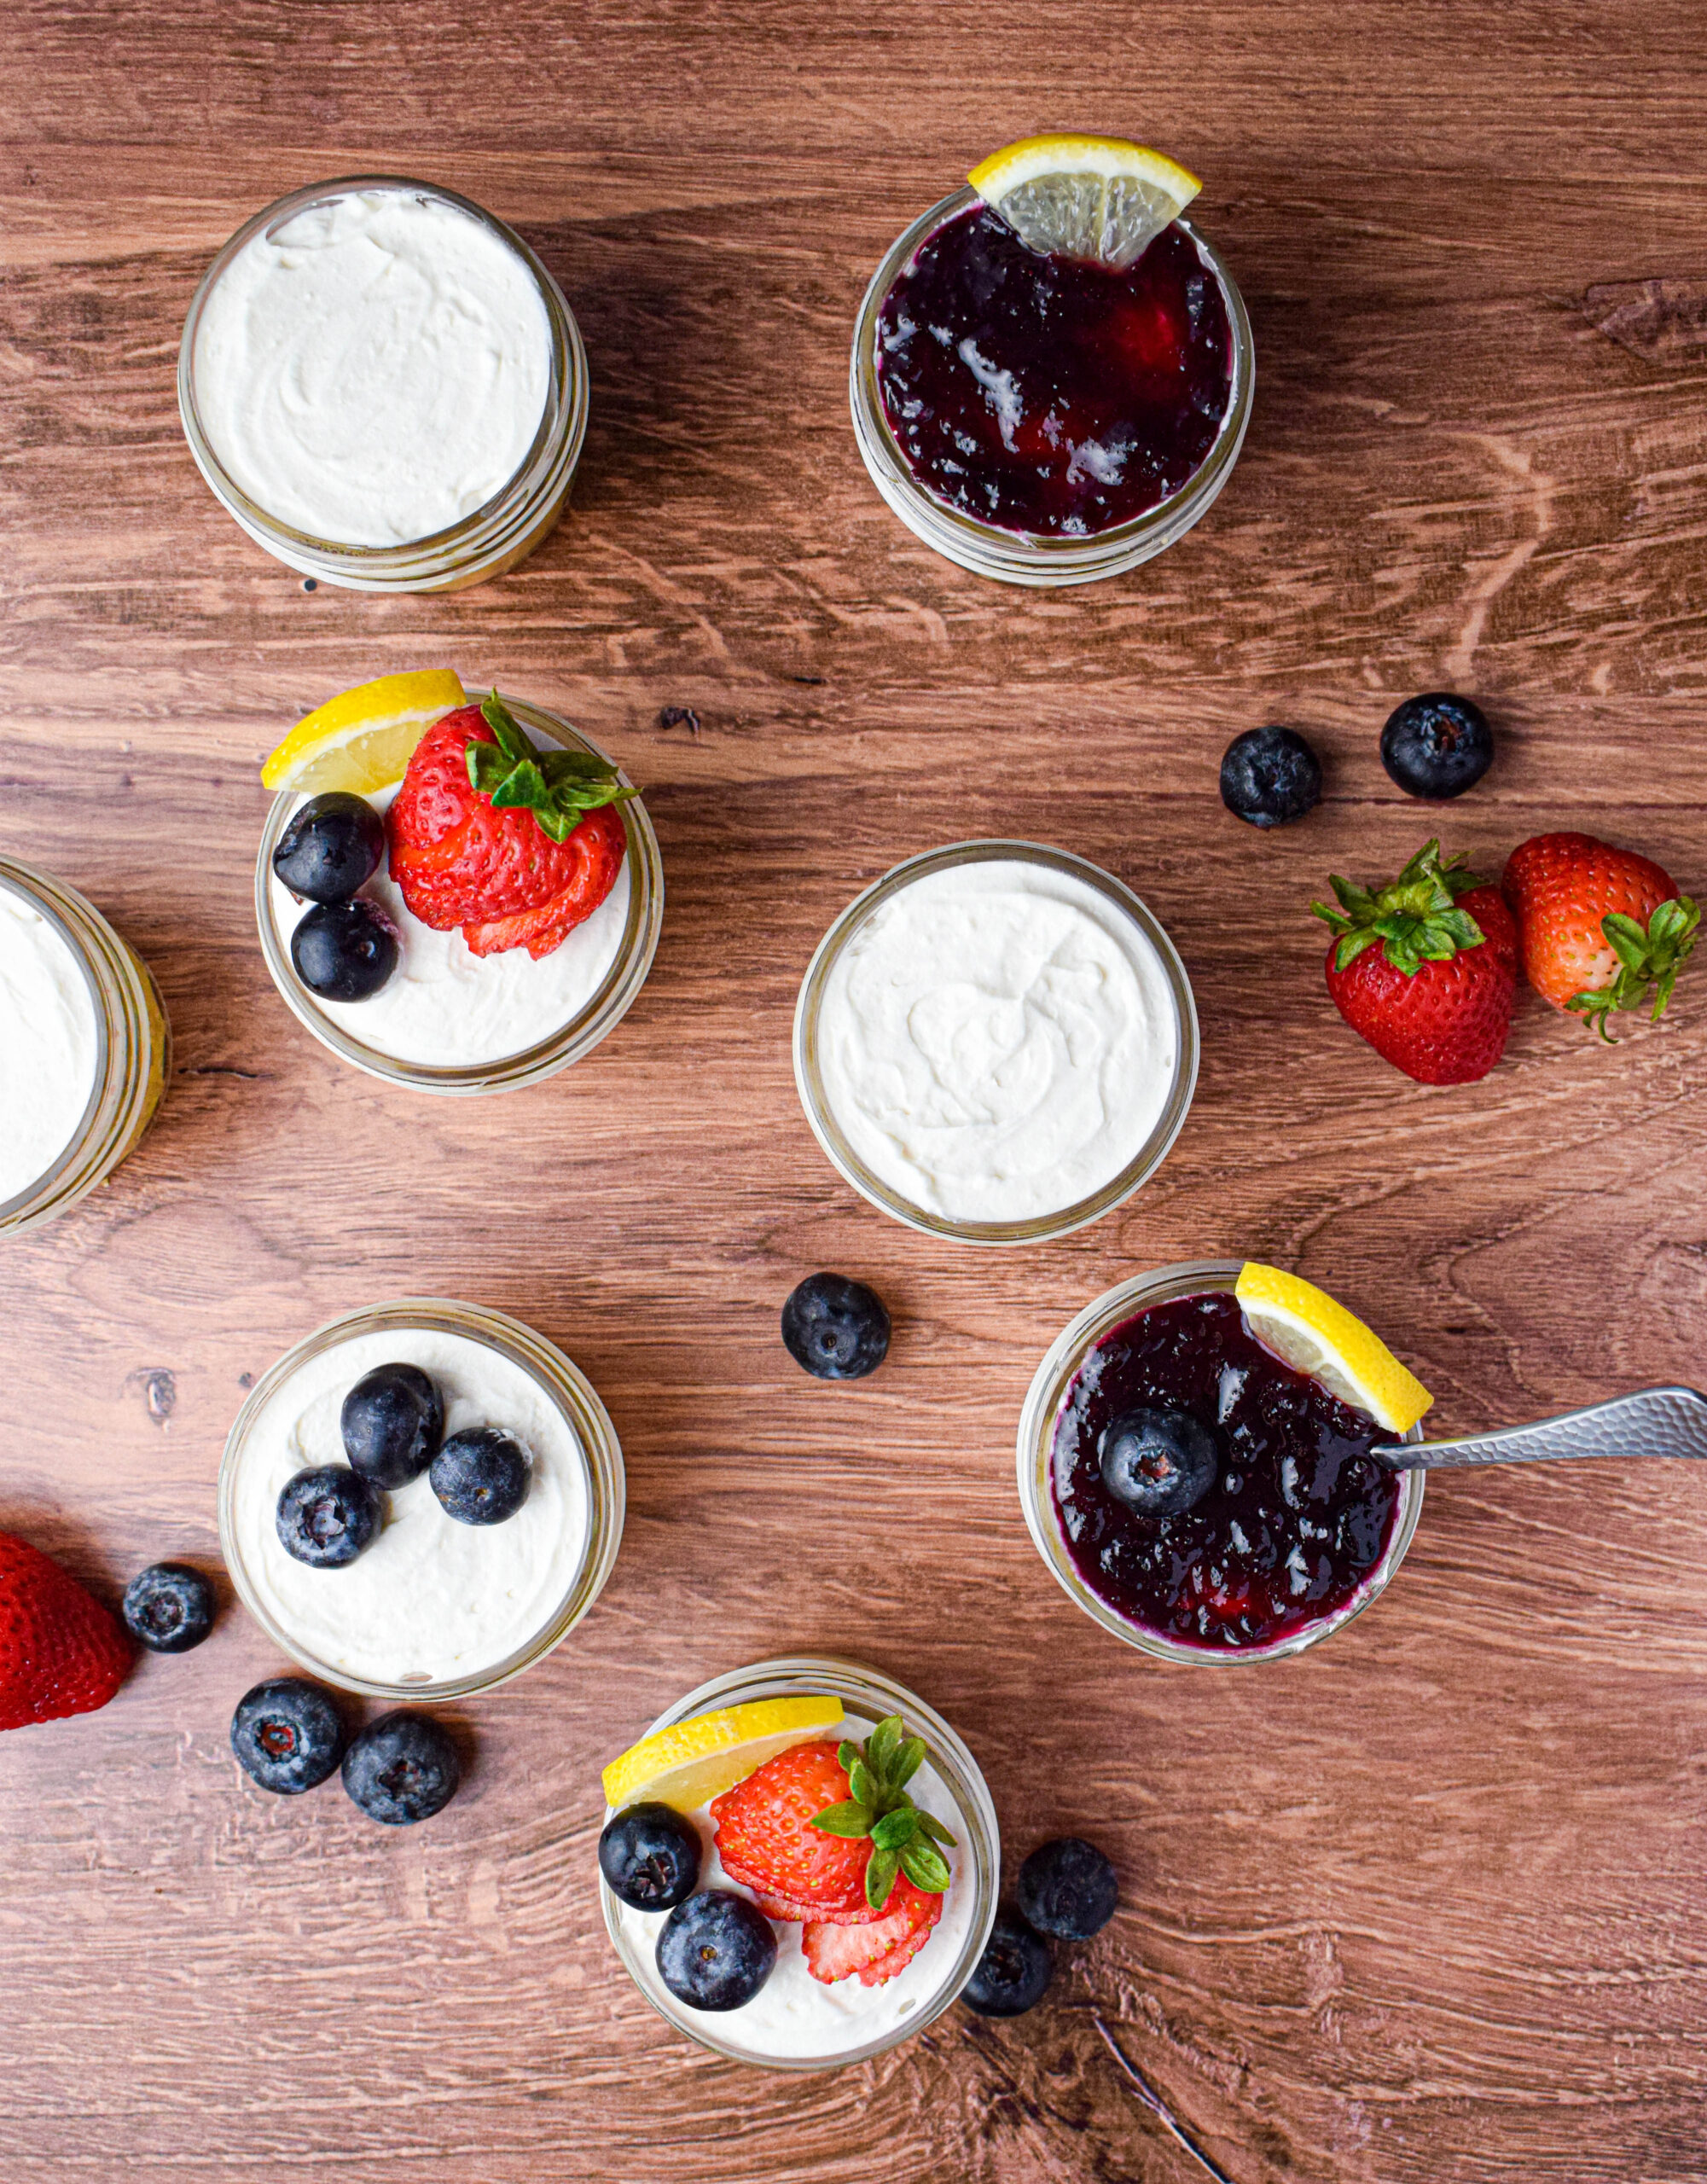
Serving Suggestions
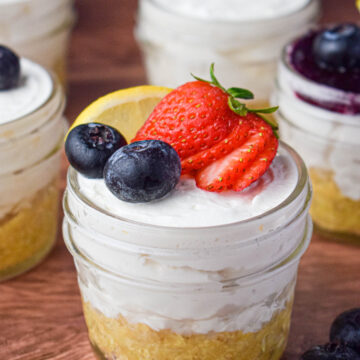
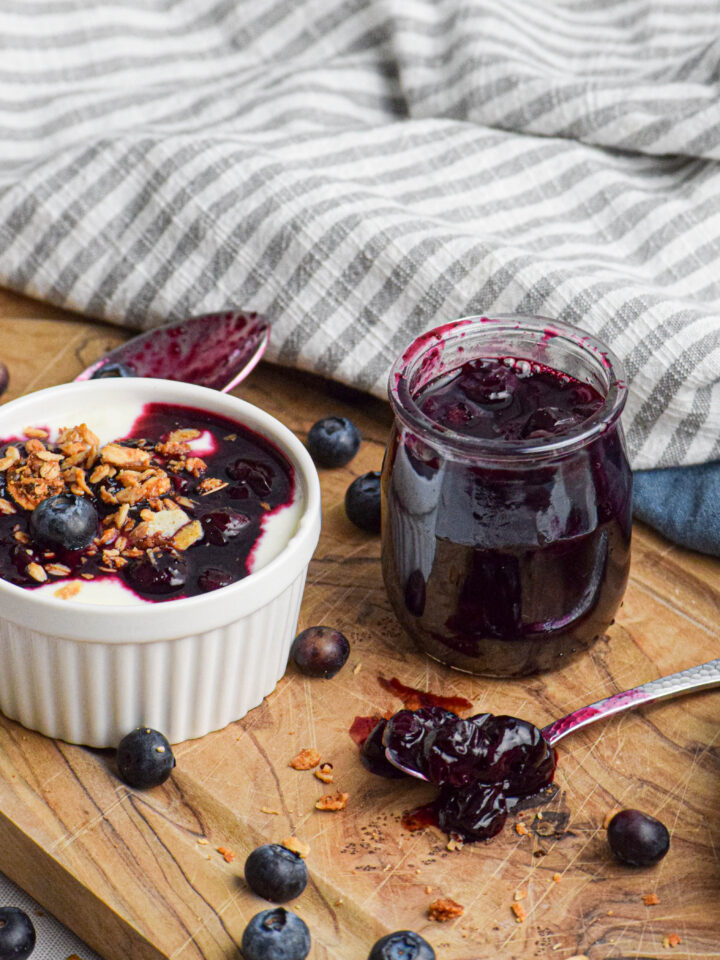
These no bake cheesecakes are a tasty blank slate for a variety of toppings! Fresh fruit is always a great option and I also like to top them with jam. If you want to get extra homemade check out this recipe for Blueberry Rhubarb Jam, one of my favorites.
You could also top them with chopped up candy bars or chocolate chips and add a drizzle of melted chocolate or caramel. So many delicious options so get creative!
Recipe FAQs
I recommend chilling them for at least 2 hours, ideally 4 before serving. They are meant to be softer than a baked cheesecake, more like a firm mousse.
Not at all, any small jar will do. Try to find something with a capacity around 4 oz. Unless of course you'd like to use larger mason jars. If you'd like to make 8 oz mason jar servings simply double the recipe.
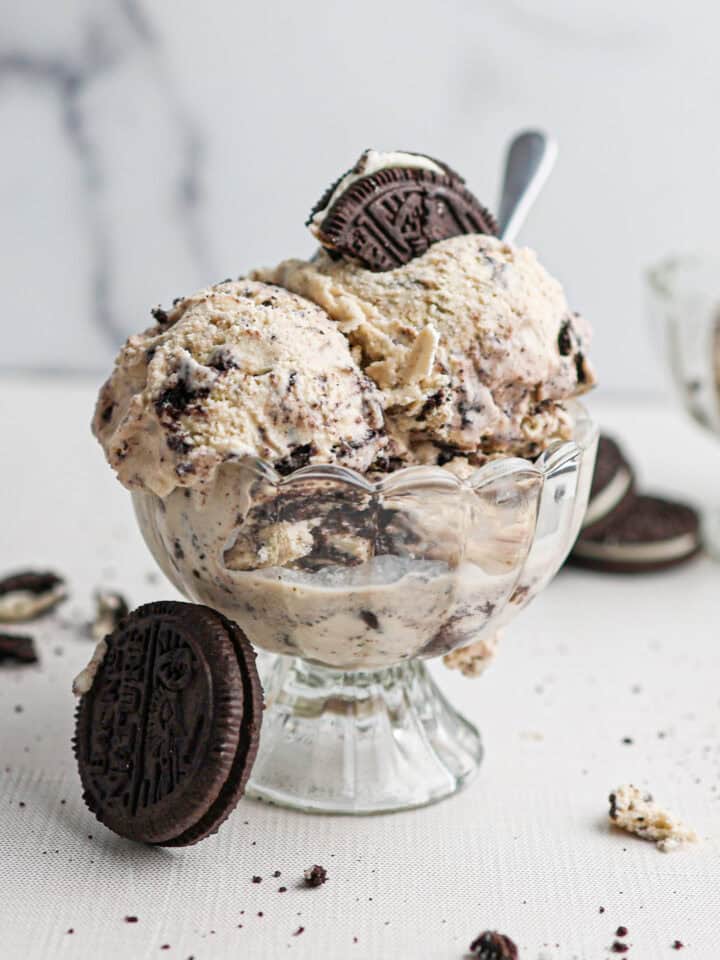
More recipes for you to enjoy.
Mini No Bake Matcha Cheesecakes
Mini No Bake Chocolate Raspberry Cheesecakes
Made this Mini No Bake Cheesecake recipe? Let me know what you think in the comments!
Recipe
Mini No Bake Cheesecakes
Equipment
- 10 4 oz mason jars
- stand mixer or electric hand mixer with mixing bowl
- Measuring cups and spoons
Ingredients
For the crust
- 1.5 cups graham cracker crumbs
- 1 tablespoon white granulated sugar
- 6 tablespoon unsalted butter, melted
For the no bake cheesecake filling
- 1 cup heavy whipping cream
- 8 oz softened cream cheese I highly recommend full fat
- 2 tablespoon sour cream
- ½ cup white granulated sugar
- 1 teaspoon lemon juice
- 1 teaspoon vanilla extract
- pinch of salt
Toppings (optional)
- jam or sauces
- fresh fruit
- crumbled candy
- whipped cream
Instructions
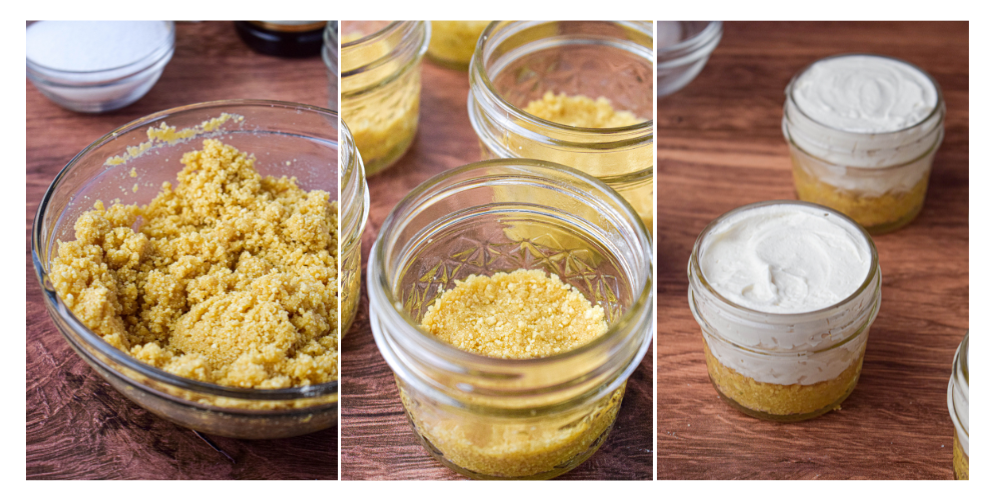
Make the crust
- In a mixing bowl combine all crust ingredients and stir until well combined. Add a couple spoonfuls of the mixture to each of the 10 mason jars and press into the bottom with a spoon or your hands. Place the jars on a baking sheet and into the freezer to firm up for at least 10-15 minutes. *Note* You can use pre-made graham cracker crumbs or make your own by blitzing whole graham crackers in a food processor. Alternatively you can place graham crackers in a large plastic bag and crush with a rolling pin until fine crumbs form.
Make the filling
- Pour heavy whipping cream into the bowl of a stand mixer with the whisk attachment (or mixing bowl with an electric hand mixer) and beat over medium high until stiff peaks form. Remove the whipped cream to another bowl and set aside.
- In the same mixing bowl you used to whip the cream add softened cream cheese, sour cream, sugar, lemon juice, vanilla extract and a pinch of salt. Mix with the paddle attachment over medium high for several minutes until the mixture is fully blended and there are no remaining chunks of cream cheese.
- Remove the bowl from the stand mixer and pour the whipped cream into the cream cheese mixture. Gently fold together until no white streaks of cream remain, being careful not to knock too much air out.
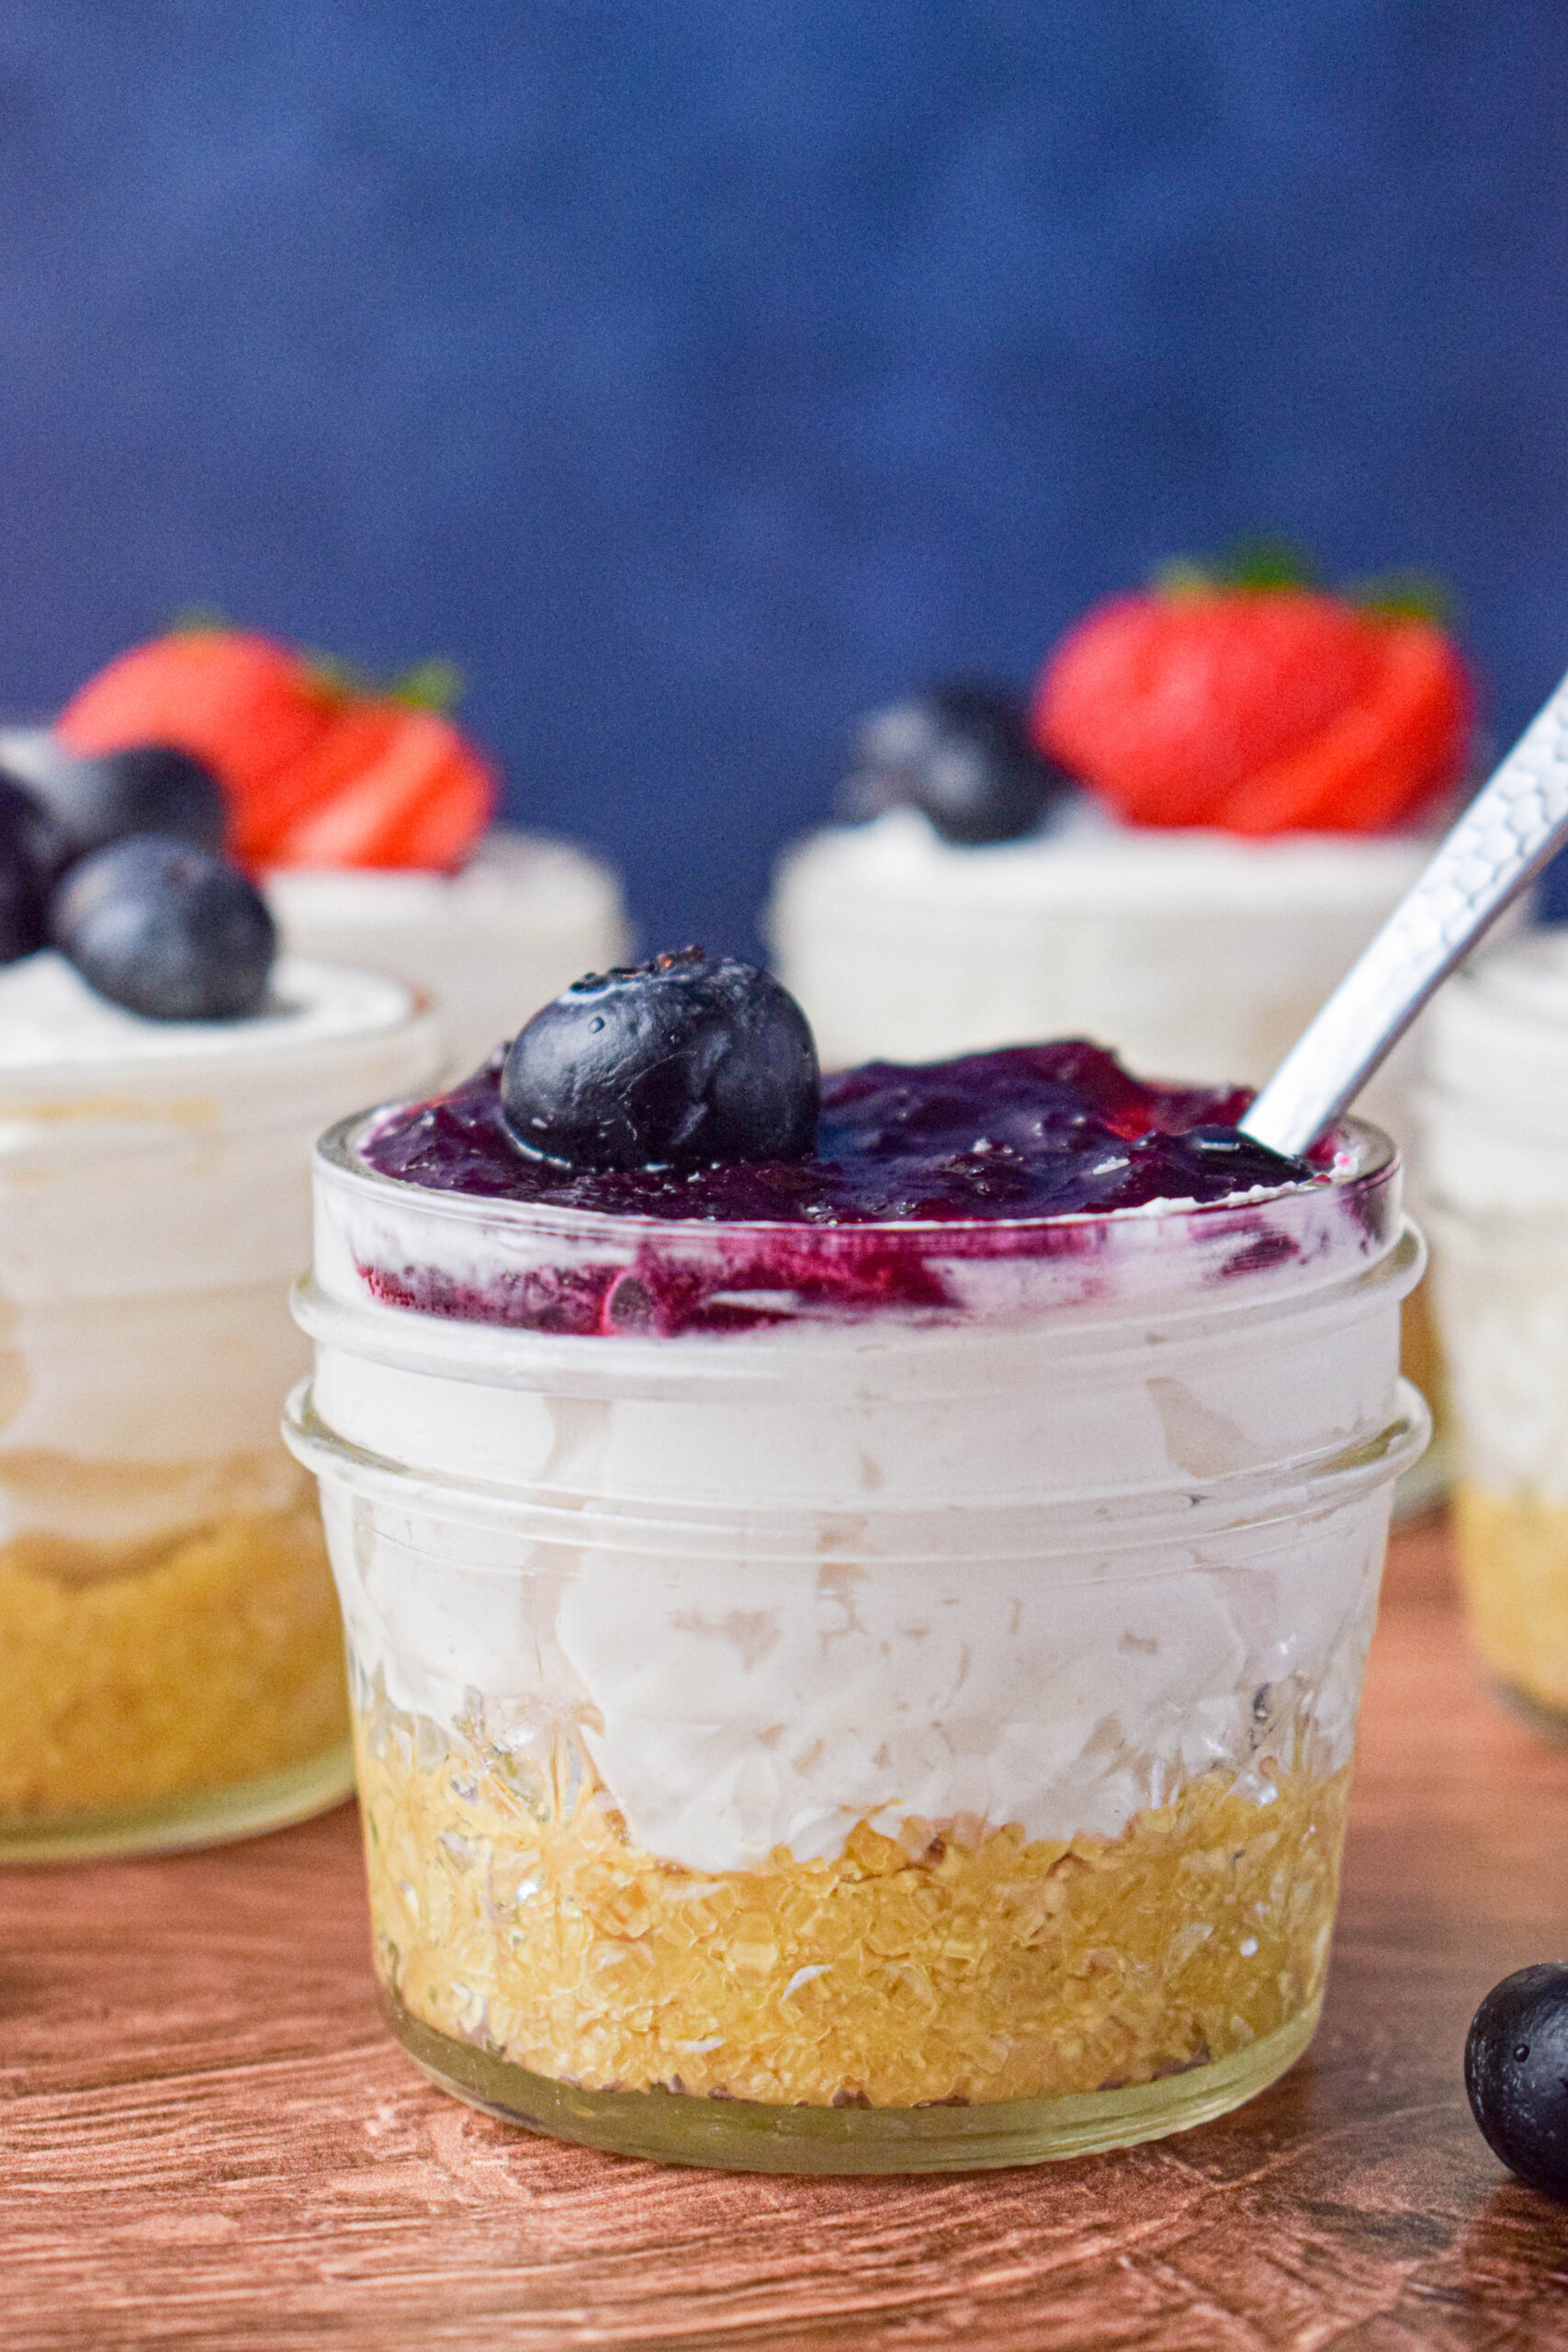
Fill the jars
- Remove the mason jars from the freezer and carefully spoon or pipe the mixture on top of the crusts. Place the filled jars in the fridge and allow to set for at least 2 hours ideally overnight before serving.
Assemble the cheescakes
- You can totally serve these cheesecakes as they are but I love to top them with jam, fresh fruit, chopped candy or whipped cream just to name a few options. Enjoy!


Amy Liu Dong
I'm a fan of cheesecake and this recipe of yours looks absolutely delicious! Plus the no-bake way of making this is a big thumbs up! I'll definitely make this at home!
Sarah
The crust-days put jars in Fridge 10-15minutes. But on the assembly of jars it says remove from freezer.
So do the jars initially go into the freezer and Not the fridge?
jamjarkitchen
Hi Sarah- sorry for the confusion! Either way will work but I do sometimes put them in the freezer just to get them extra firm. I will adjust that in the instructions. Thanks for pointing that out!
Shelley C.
Can this be made as a whole cheesecake in a pan (13x9?) rather than individual jars?
jamjarkitchen
Great question! You technically can make this in a 9x13 pan, but the crust doesn’t hold together quite as well as it does in the jars and the filling is a bit soft, so you probably won't get clean slices. If you do try it, just press the crust in really firmly and maybe add a bit more melted butter. Give it plenty of time to chill so it sets up as much as possible. Hoe you enjoy!